Record
Record Meeting
- From within a Webex Meeting, select the Record button.

- Select Save to the cloud to save the recording in Webex in D2L.
- Select Record.
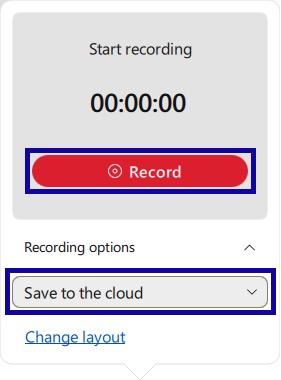
- To stop the recording, select the Record button.
Note:
Processing recordings may take some time.
View Recorded Meeting
- From the Communications menu within a D2L course, select Webex .
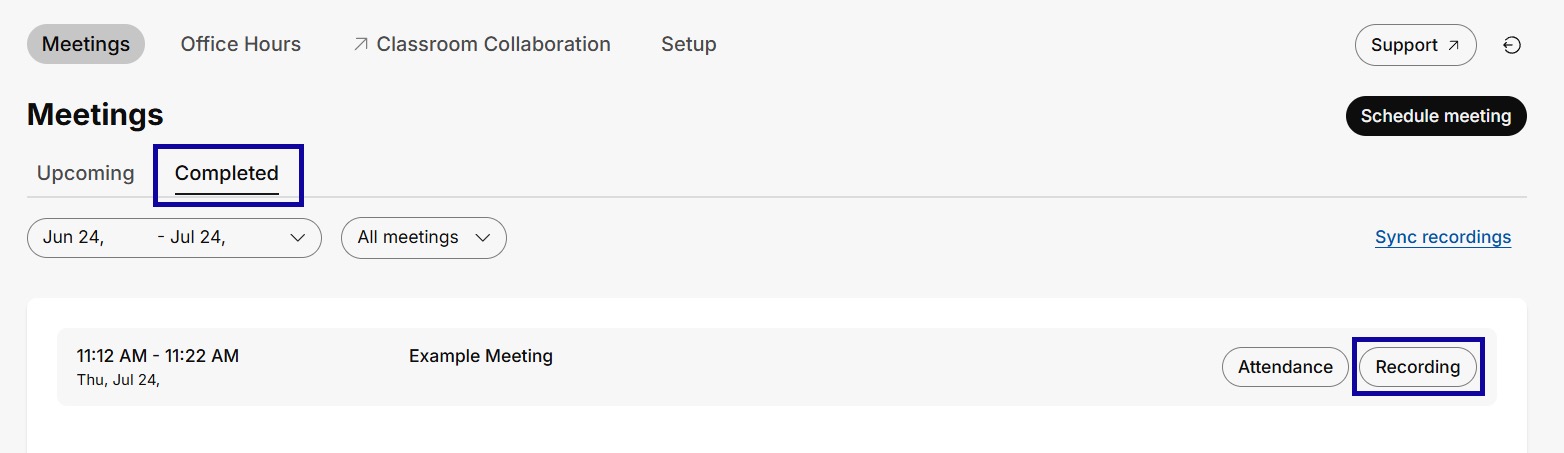
- Select the Completed tab.
- Select Recording for the desired meeting.

Add Recording to My Media
Add Recording to My Media provides the ability to add, embed, and download Webex recordings in D2L courses.
- From within a Webex Meeting, select the Record button.
- Select the Save to the cloud option to later download as an .mp4 file.
Note:
Do not choose the “Save to my computer” option, as this only records in a proprietary file format that will not be compatible with Kaltura.
- Select Record and conduct your meeting. To stop the recording, select the Record button.
- To download the recorded meeting as a video file from within a D2L course, select Webex from the Communications menu.
- Within Webex Meetings, select the Completed tab, and select View Recording to view the meeting.
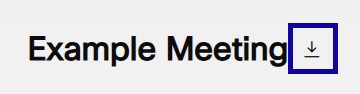
- Select the Title of the meeting.

- Copy the optional password if listed, and select View recording.
- Select the Download button next to the title of the meeting.
- From the Online Tools menu within My Home page in D2L, select My Media.
- Locate and select the +Create button.
- From the +Create dropdown menu, select Upload.
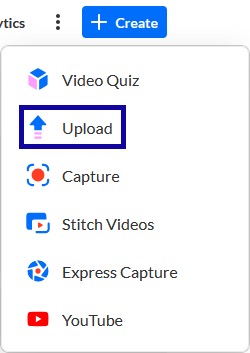
- Select the Select files button to select a file, and select Open from the computer.
- Once the file has been uploaded and processed, review and edit closed captions, and share the file within D2L courses, if needed.