Agent Creation
- From the Manage Course menu within a D2L course, select Course Admin.
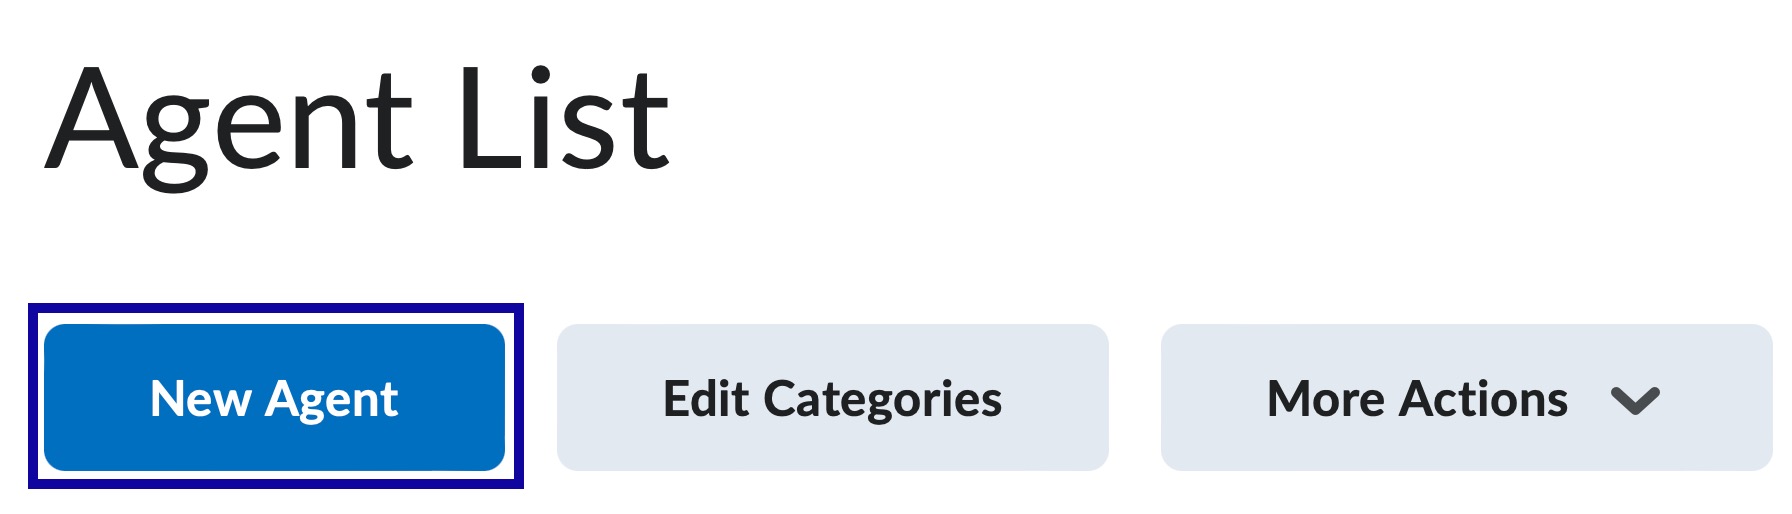
- From the Communication section, select Intelligent Agents.

- Select New Agent.
- Enter the Agent Name.
- Add description, if needed.
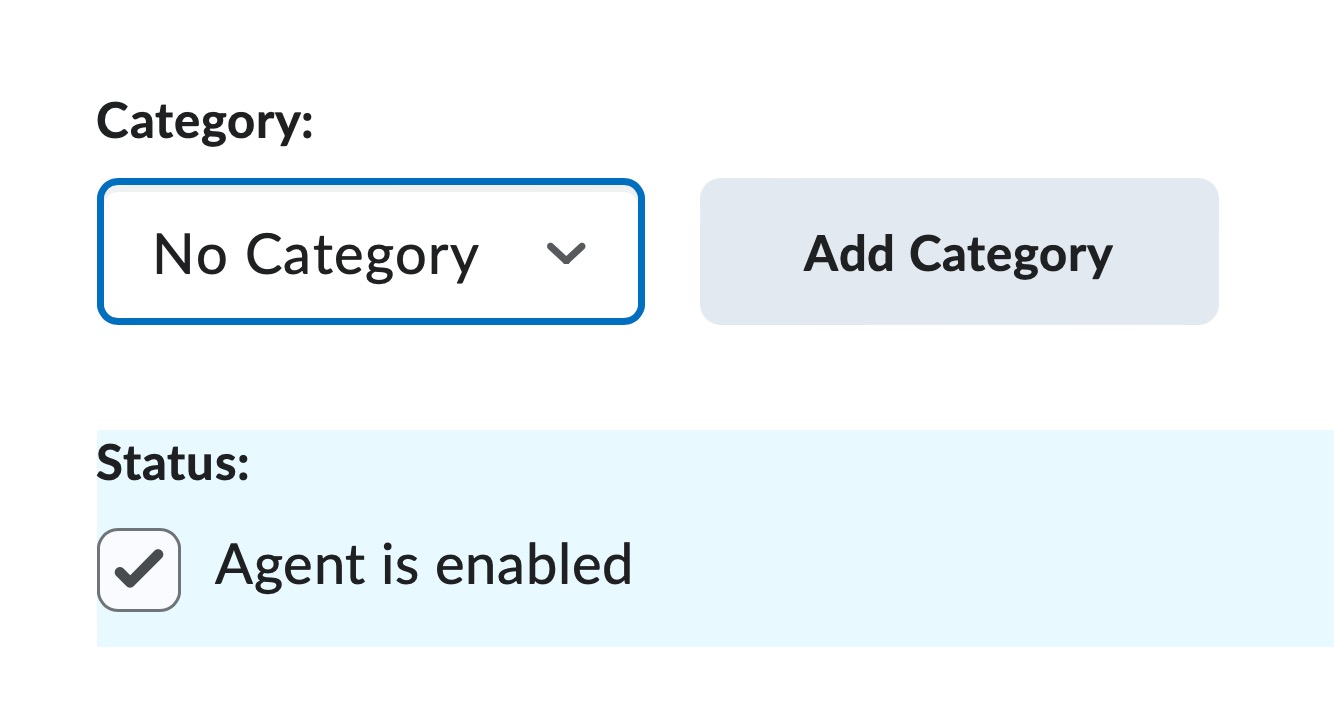
- Choose or add category, if needed
- Select the Agent is enabled checkbox.
Note:
Agents must be enabled to run.
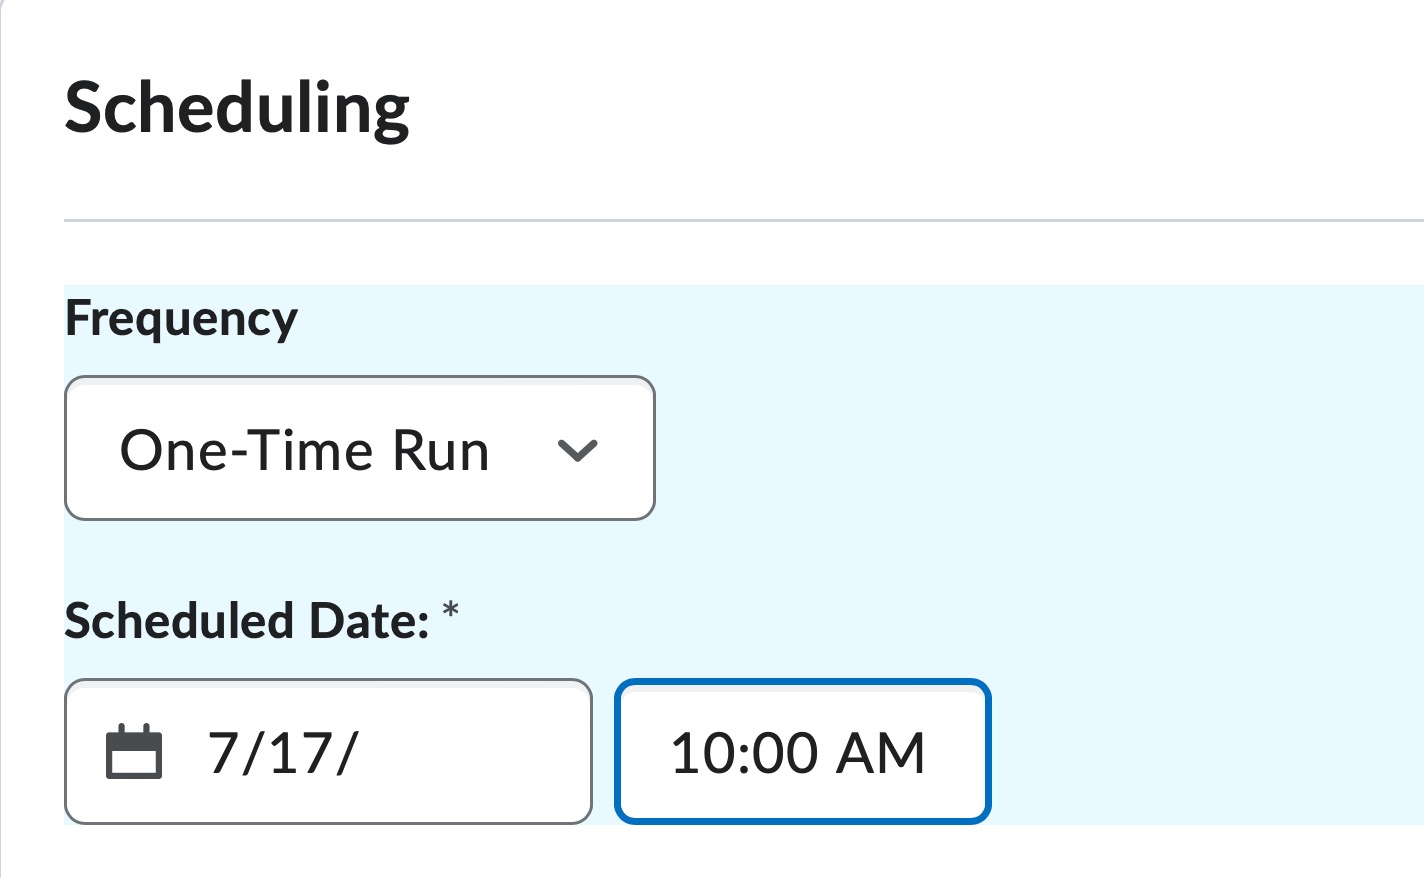
- Determine the Scheduling:
Select the preferred schedule:- Run the Intelligent Agent once by selecting One-Time Run. This requires the date and the time.
- Run the Intelligent Agent as often as hourly, daily, weekly, monthly, or annually.
- Run the Intelligent Agent manually to have No Schedule.
- Run the Intelligent Agent once by selecting One-Time Run. This requires the date and the time.
- Determine the Criteria:
- Role in Classlist: Select All users visible in the Classlist, or Users with specific roles: i.e.: Students or Course Assistants.
- Login and Course Activity: Select the checkbox(s) if the agent should search for login and/or course activity, and select the radio button for the desired settings.
- Course Activity: Select the checkbox if the agent should search for course activity and select the radio button for the desired settings.
- Release Conditions: Create or browse the Release Conditions to have the agent monitor.
- Determine the Action:
- Repetition: Select the radio button for the desired option.
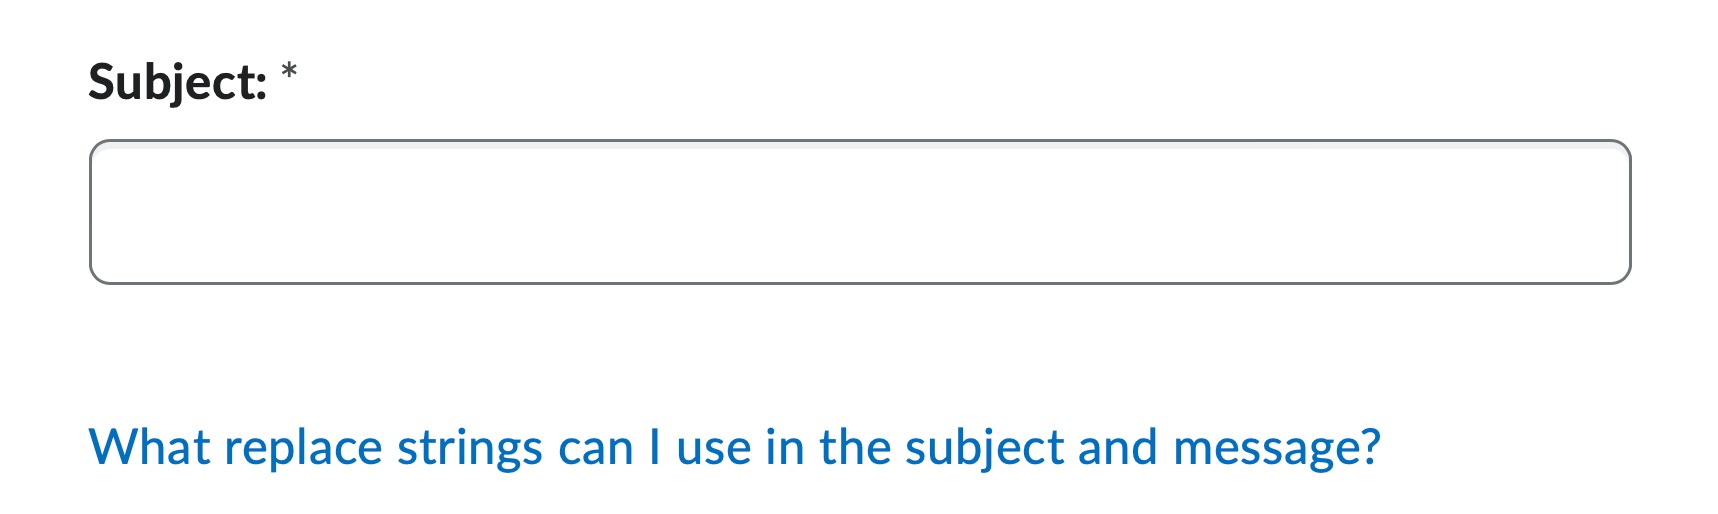
- Send an Email: Select the checkbox to enable the email feature. Use replacement strings in the following fields to automatically
enter data for users who have met the criteria of the agent. View instructions on
Using Replacement Strings.
Preparing the Email:- Type the Names of Recipients in the To, Cc, and Bcc field.
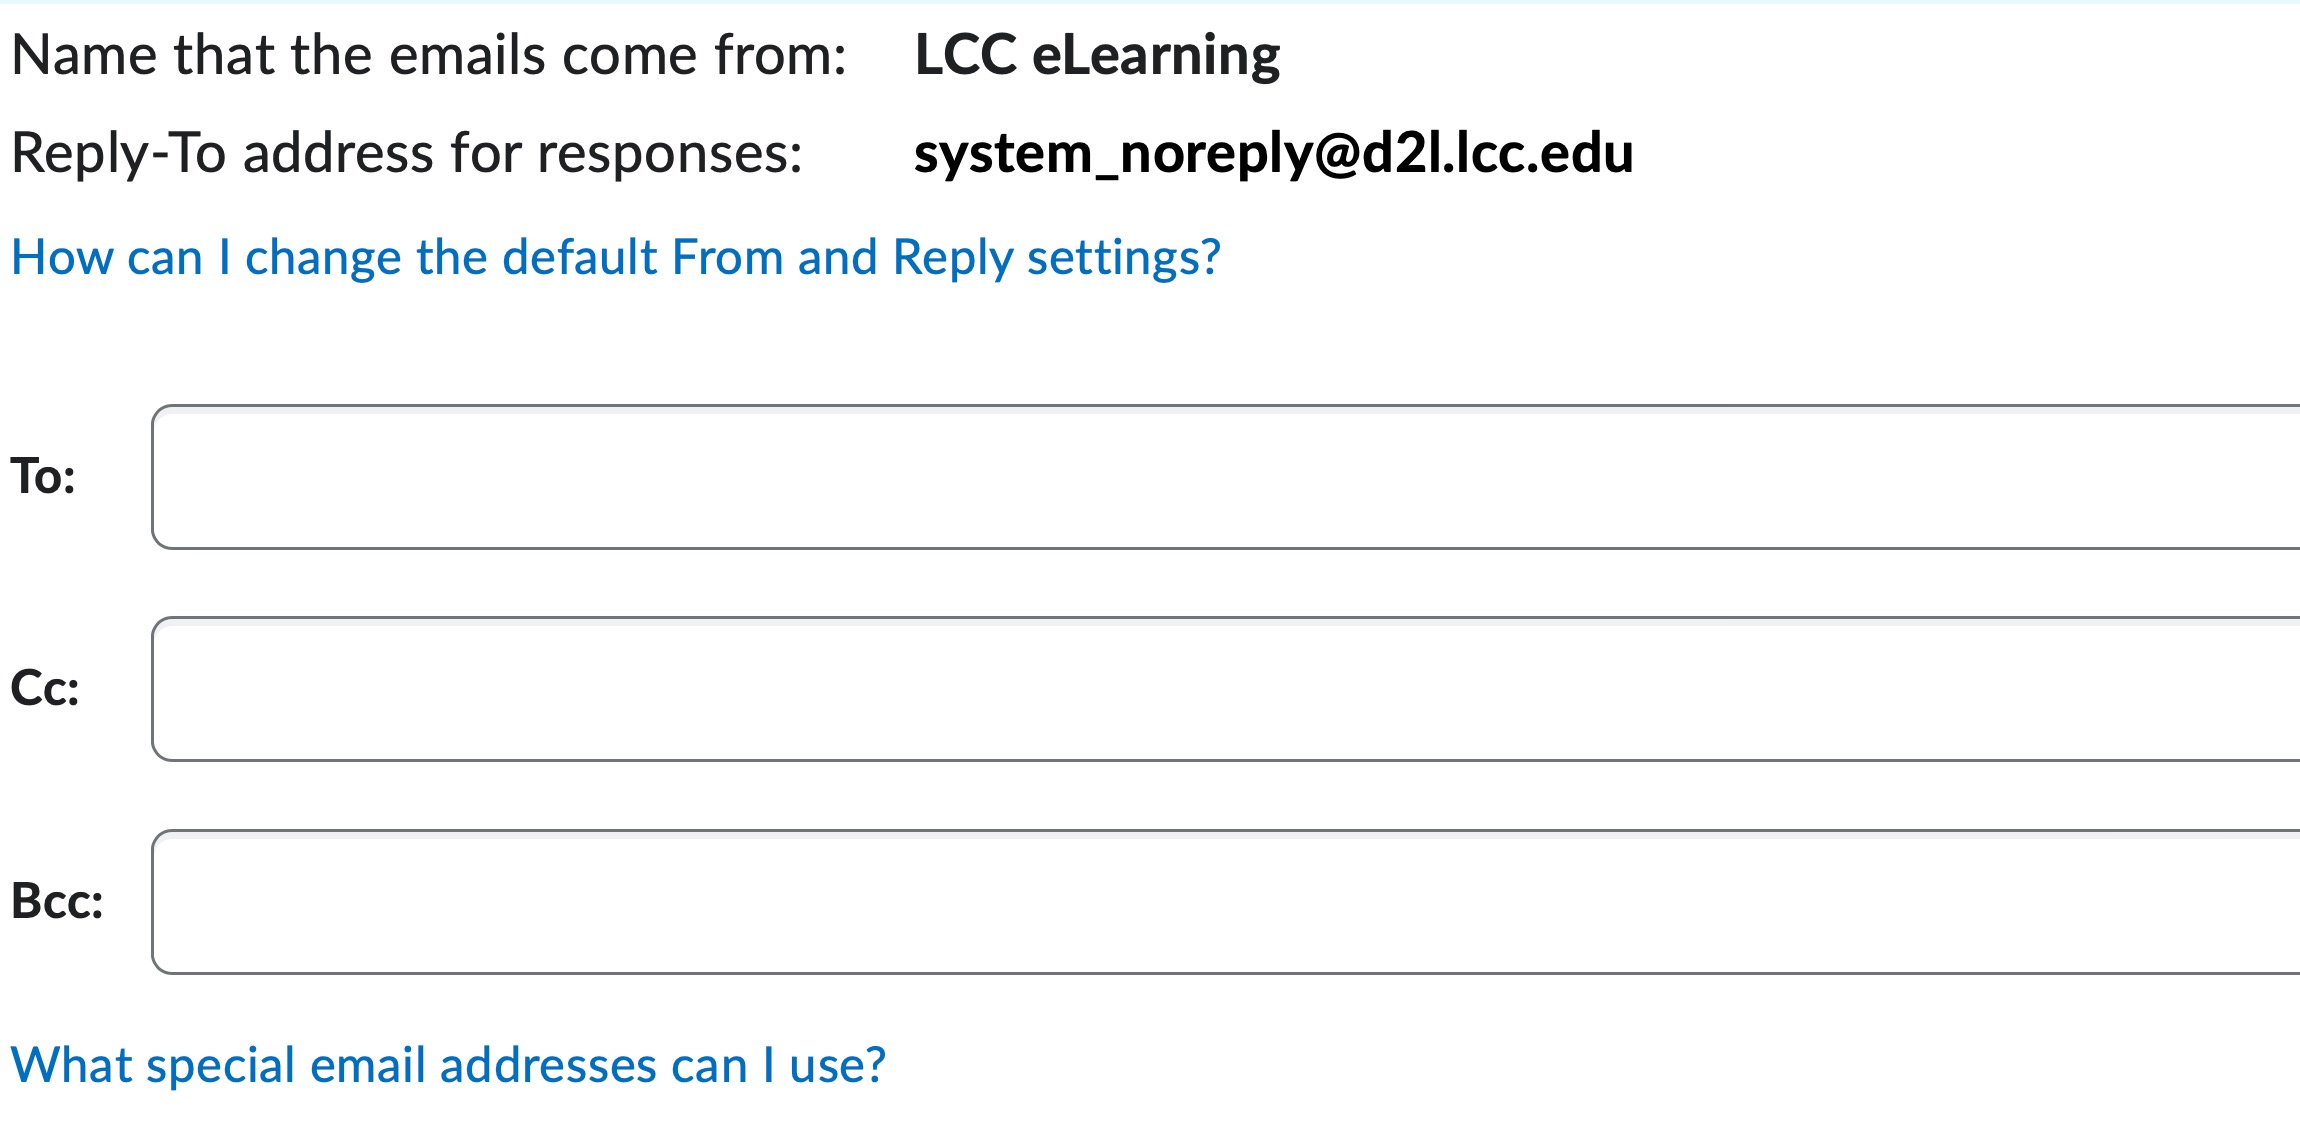
- Enter an Email Subject.
- Enter the Message.

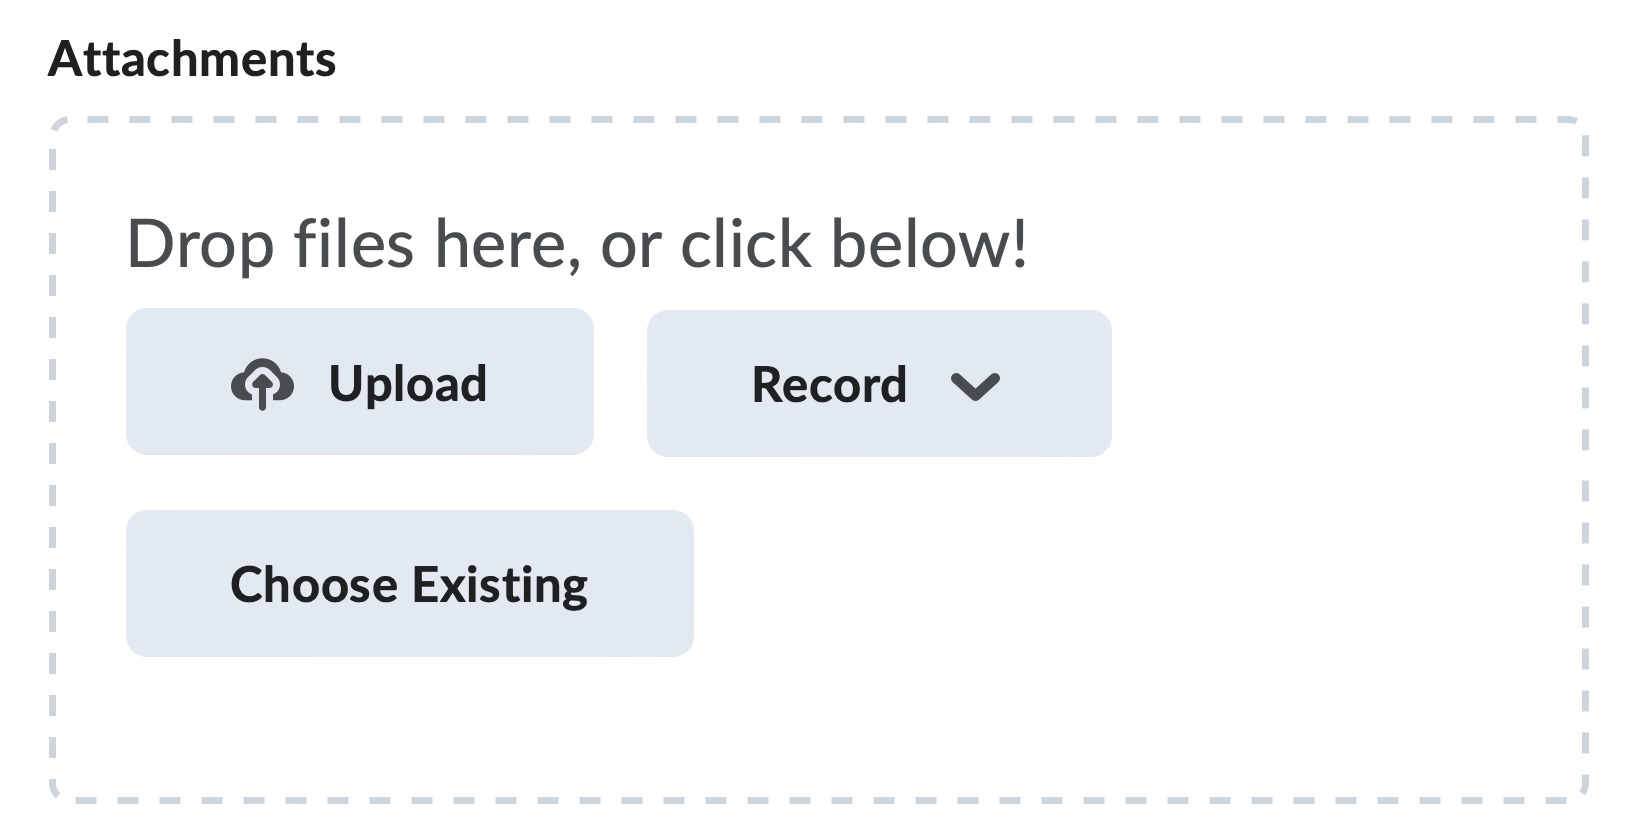
- Add attachments and/or change text type, if needed.
- Type the Names of Recipients in the To, Cc, and Bcc field.
- Select Save and Close.