
Import Exams into D2L with Respondus 4.0
Before beginning the import process, check that each question has been properly formatted (Click here to view the Required Question and File Formats for Importing into D2L with Respondus).
NOTE: Respondus is not compatible with Apple Mac computers. Respondus is installed locally on each computer. For instructions on installing Respondus, click here.
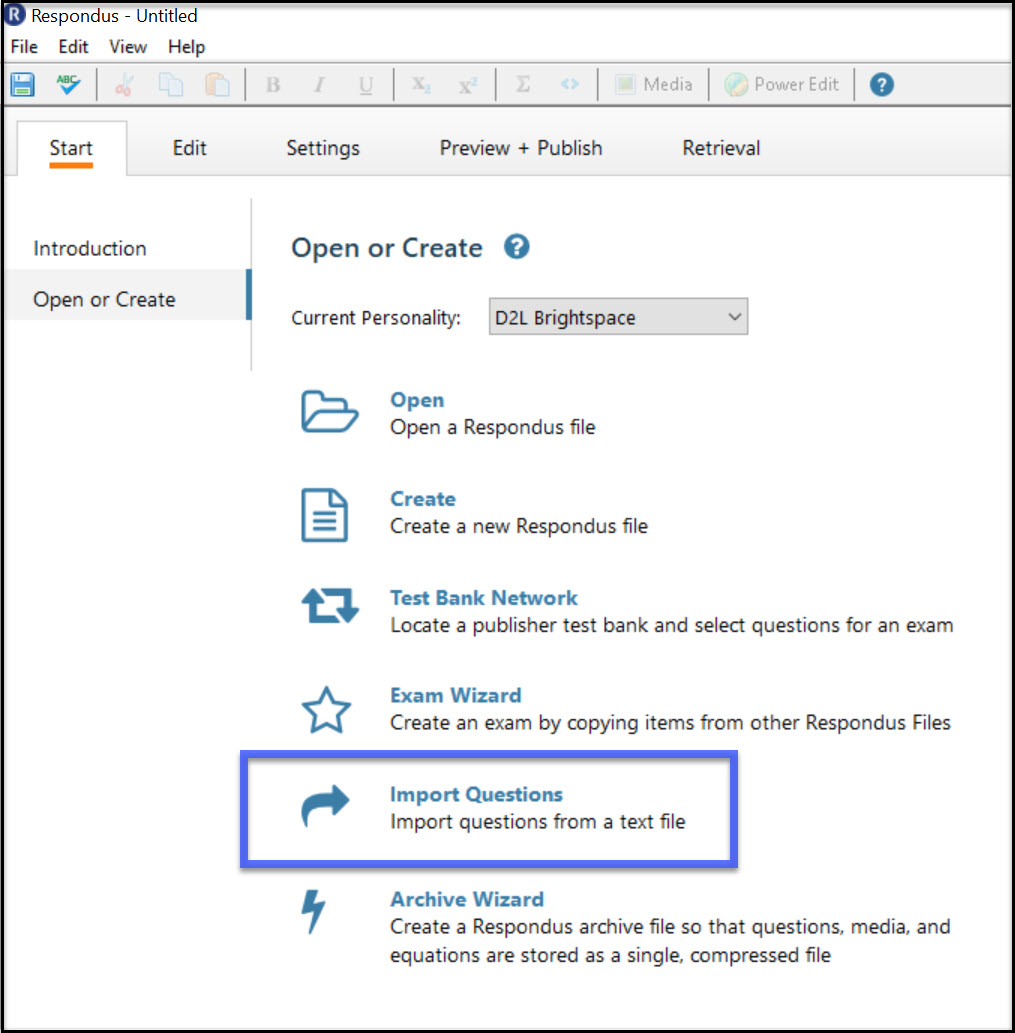
- From the Start tab, select Import Questions.
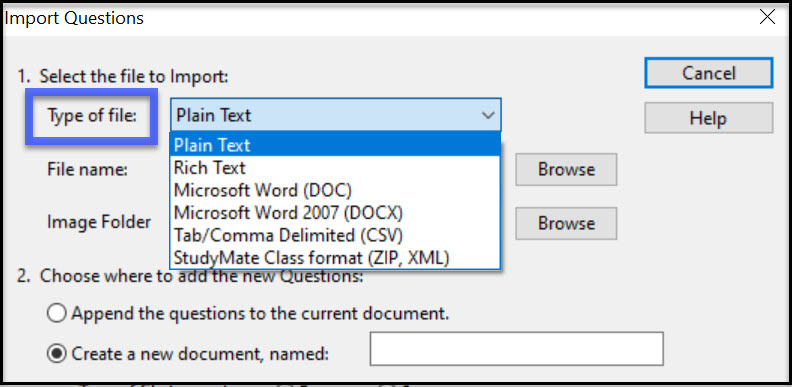
- From the Type of file drop-down menu, select the file type.
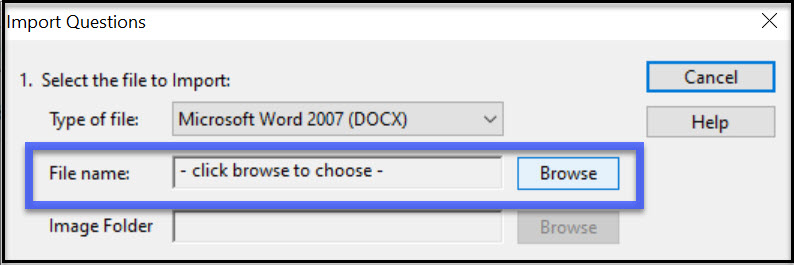
- Select Browse to search for and select the file.
NOTE: You will be limited to select from files types that match the file type selected in Step 2. If you cannot locate the file, verify that the Type of file (Step 2) is correct (ie. Doc vs. Docx).
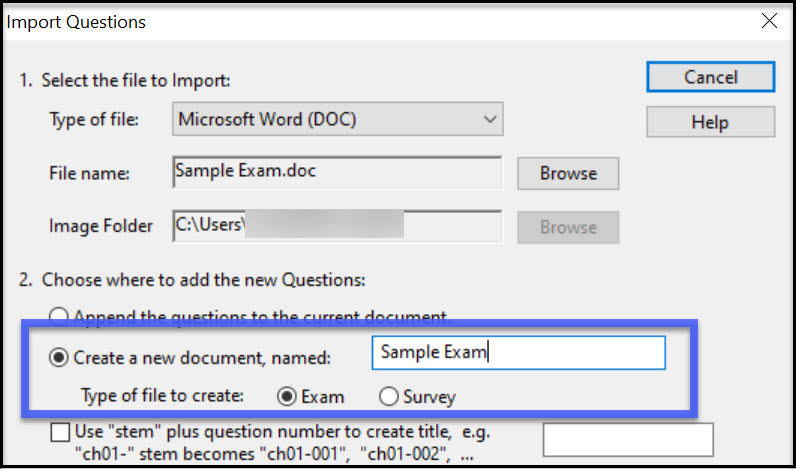
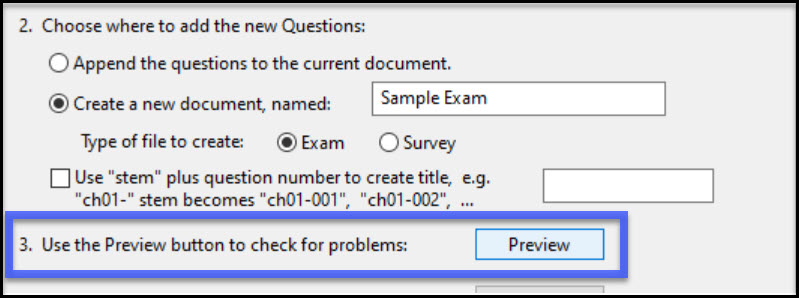
- Select the radio button for Create a new document, named:, then Enter a Name for the document.
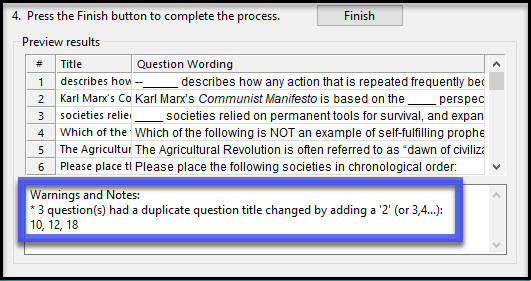
- Select Preview, then check for any warnings or notes in the Warnings and Notes area.
Note: When warning messages are received: cancel the import process, fix any issues on the original document and start the import process over again from Step 1.
- Two common warning message include:
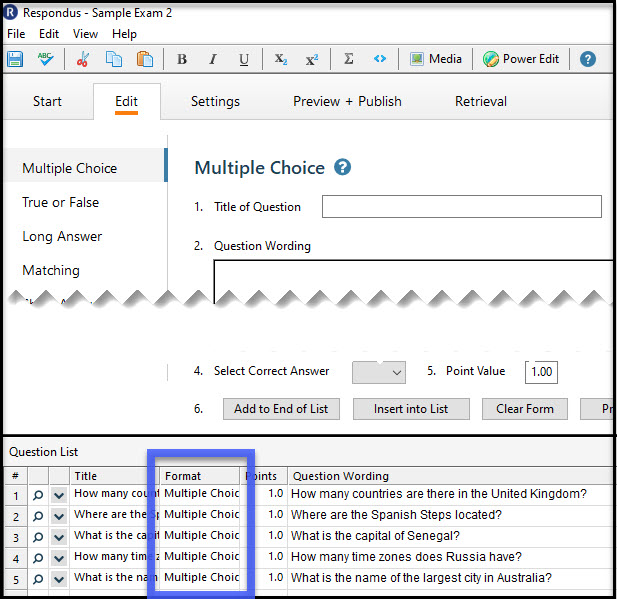
- ‘No Correct Answer’ Warning Message: This warning message indicates that a correct answer has not been selected for one or more questions. In the image below, a correct answer has not been selected for questions 2, 4, and 5; therefore the first answer choice will be automatically assigned as correct.

- ‘Duplicate Question Title’ Warning Message: The ‘duplicate question title’ warning message is the only warning message that can be ignored. If you receive this message, you may continue to the next step. The duplicate question title note will appear if you have more than one question that is similar.
- ‘No Correct Answer’ Warning Message: This warning message indicates that a correct answer has not been selected for one or more questions. In the image below, a correct answer has not been selected for questions 2, 4, and 5; therefore the first answer choice will be automatically assigned as correct.
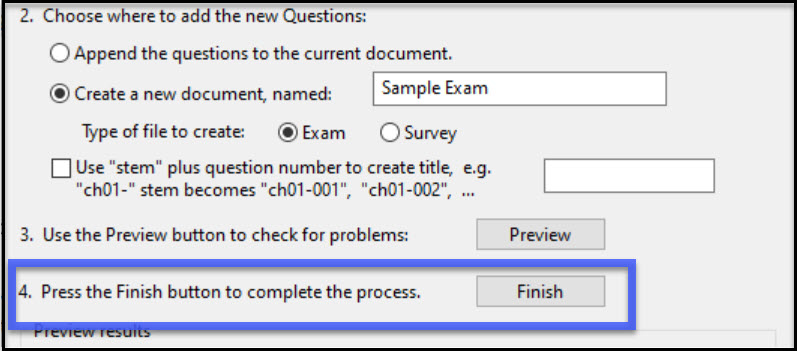
- Select Finish.
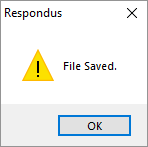
- Select OK to verify that the file has been saved.
- After saving the file, you will automatically be taken to the Edit tab. Verify that the question type (Format) for each question is correct. For step-by-step instructions to edit the question type, see Edit Question Types in Respondus.
NOTE: Once the questions are imported into D2L the question type cannot be changed. The question(s) would have to be manually deleted and manually re-created in D2L.
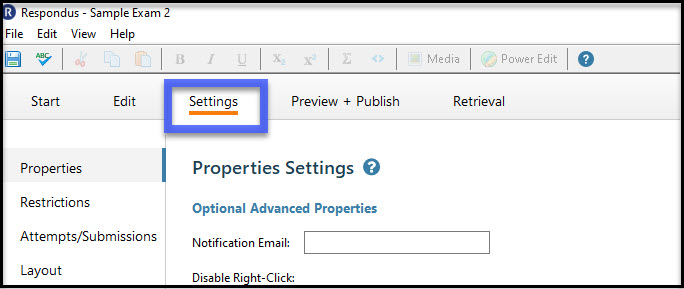
- Select the Settings tab.
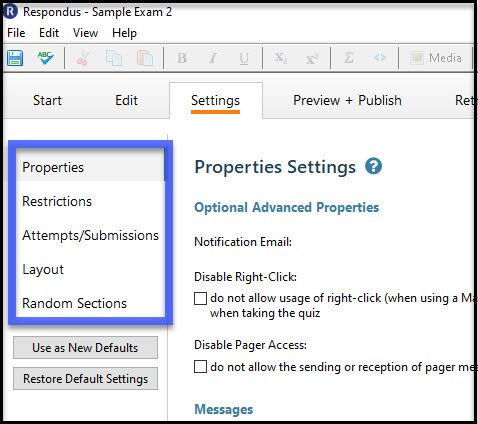
- OPTIONAL: Select your desired D2L quiz settings (time limit, number of attempts, etc.) by moving through Properties, Restrictions, Attempts/Submissions, Layout, and Random Section.
- NOTES:
- Quizzes imported via Respondus are defaulted to an Active status, meaning students can access it immediately. If students should not have access right away, change the quiz to an Inactive status, via the Restrictions button.
- The quiz can be imported into D2L without selecting quiz settings in Respondus. Quiz settings can be added later in D2L.
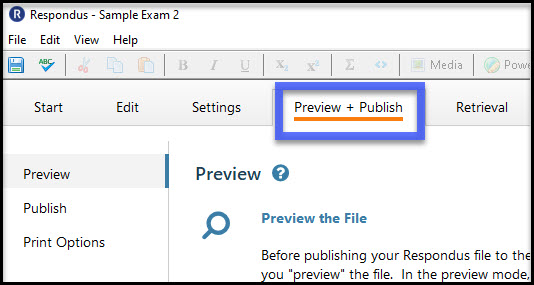
- Select the Preview & Publish tab.
- Select Publish.
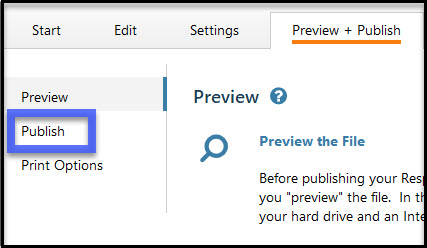
- Select Publish Wizard.
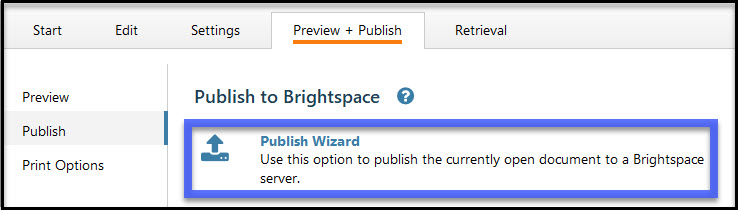
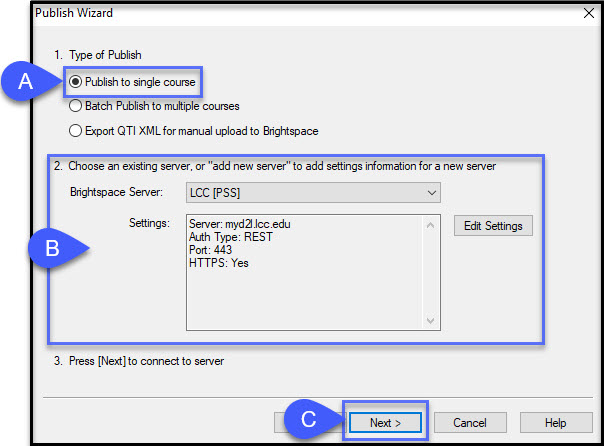
- In the Publish Wizard:
- Select Publish to single course.
- Verify your Respondus account is connected with the D2L Server. (Do not alter this.)
- Select Next.
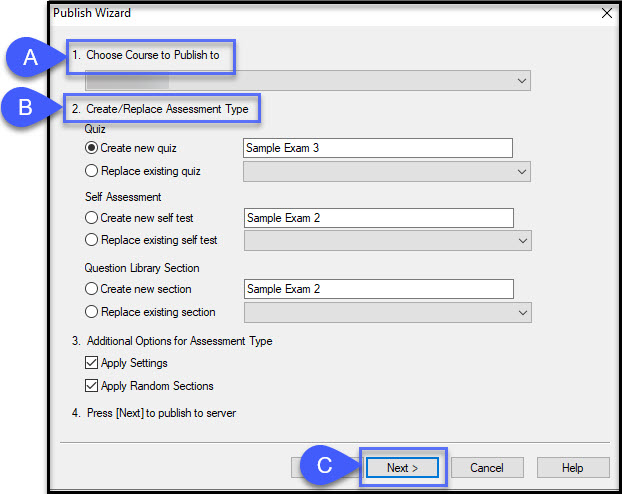
- Continuing in the Publish Wizard:
- From the Choose Course to Publish to menu, select the course into which you wish the quiz to be added. NOTE: Only courses for which you have Instructor access be appear in the list.
- From the Create/Replace Assessment Type menu, select to create or replace a Quiz, Self-Assessment, or Question Library Section. NOTE: Creating a new quiz will automatically add the quiz to the Quizzes area of the selected course.
- Select Next.
- Verify that the action has been ‘Completed Successfully’ and select the Finish button.

- The quiz has been created in D2L, and can now be accessed in the D2L Course selected. To view the quiz, from within your course, select Assessments > Quizzes.