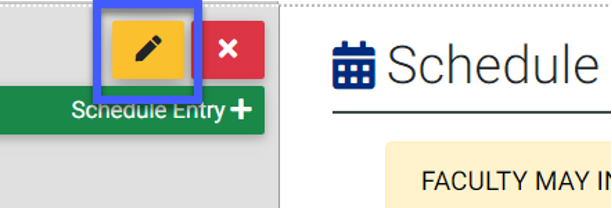
For the item you would like the table to appear, select the Edit icon.
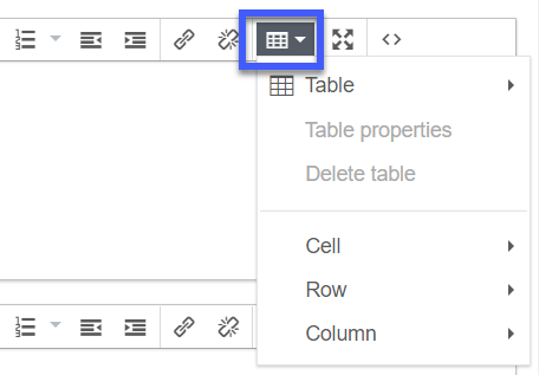
Select the down arrow next to the Table icon, then select Table to expand the menu.
Note: Tables can be pasted directly from Word documents or Excel spreadsheets, though some formatting may be lost. Keep in mind that a header row will still need to be defined in Concourse for pasted tables, unless a header row was previously defined in Word.
Choose the number of columns and rows by highlighting the cell boxes.
Select the cells to enter information in the table.
Note: The table automatically adjusts in size and appearance as text is entered in the cells.
Use the table editor icons that appear above the table to add or remove rows or columns.
For Accessibility Purposes, define a header row:
Highlight the top row in your table.
Select the down arrow next to the Table icon.
Select Row, then select Row Properties.
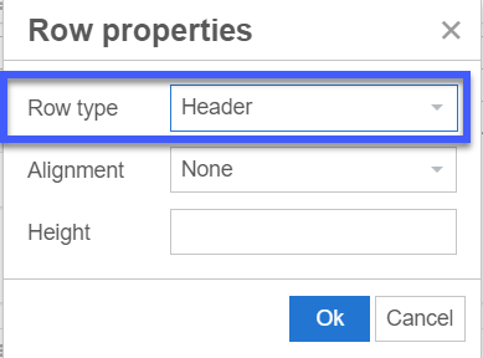
Change the Row Type to Header.
Select Ok.
Adding Accessible External Links
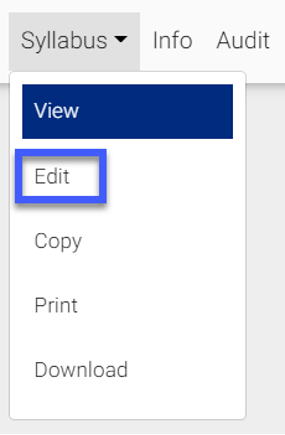
From the Syllabus drop-down menu, select Edit.
For the item you would like to add an external link, select the Edit icon.
For Accessibility Purposes:
Note: Do not copy/paste the URL in the text editor of the syllabus.
In the text editor, highlight the word or phrase where you want the link to appear.
Select the Insert/Edit Link icon.
Enter or copy/paste the URL in the URL field.
Select New Tab in the Target field.
Select Ok.
Note: To change the hyperlink, highlight it and click the Insert/Edit link icon to make revisions. To remove the link, highlight the hyperlink and click the Remove Link icon.