
Creating Grade Categories and Items
Creating a New Grade Category
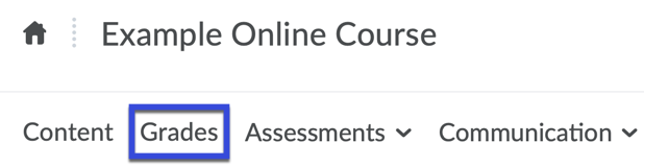
- From the Navigation Bar, select Grades.
- Select Manage Grades.

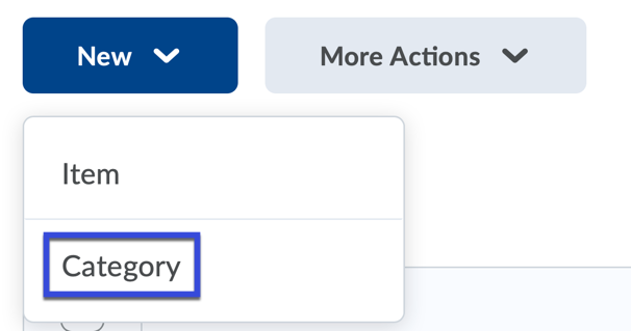
- Select New, then select Category.
- Enter a Name for the category.
- Adjust the Grading and Display Options, as needed.
- Select Save & Close.
Creating a New Grade Item
- From the Navigation Bar, select Grades.
- Select Manage Grades.
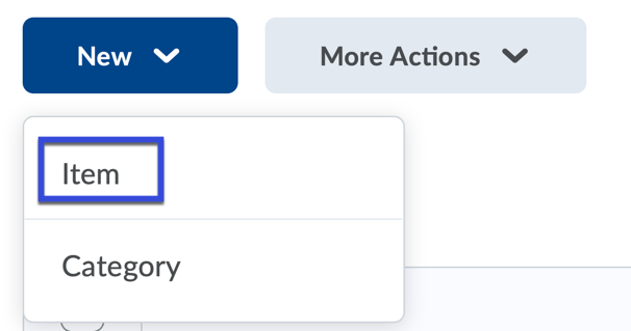
- Select New, then select Item.
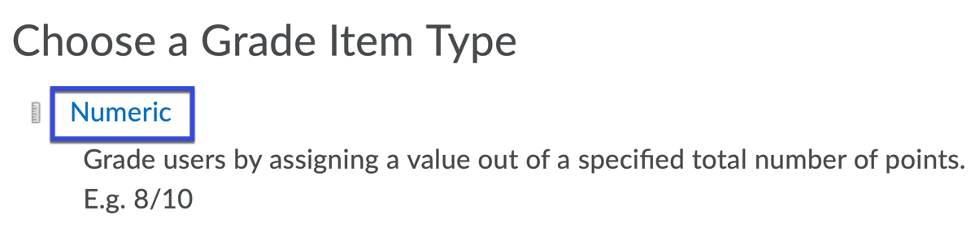
- Select the Grade Item Type you wish to use.
NOTE: The most commonly used grade item type is Numeric.
- Enter a Name and Date for the grade item. BEST PRACTICE: Grade item names should be the same as the assessment item it will be associated with to aid in locating and viewing specific grades in a course.
- Select a Category to associate the grade item with.
- Enter the Maximum Points allowed for the grade item.
- Select Save and Close.