
Creating and Managing Content
- Creating New Content (i.e. Upload Files, Create a Link, etc.)
- Linking Existing Tools to Content (i.e. Quiz, Assignment, etc.)
- Managing Content Topics
- Editing Content Topics
The Content tool is used to post course content and assignments in a clear and organized fashion. Course content can be organized into weekly folders, modules, units, etc.
Course content can include documents, images, media files, presentations, URL links, and existing course activities such as discussions, assignments and/or quizzes. Instructors can add release conditions, grade items, and learning objectives to content to ensure users navigate through course materials while fulfilling specific course requirements and learning expectations.
Instructors can also monitor class and user progress as students work through course content by setting automatic (determined by the system) or manual (determined by the student) completion tracking.
Creating New Content (i.e. Upload Files, Create a Link, etc.)
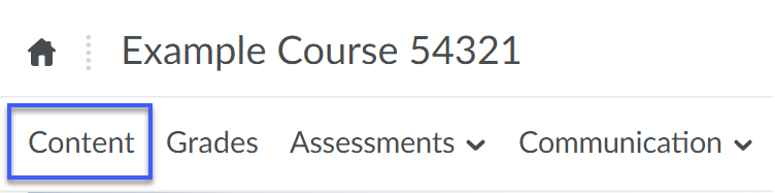
- Select Content.
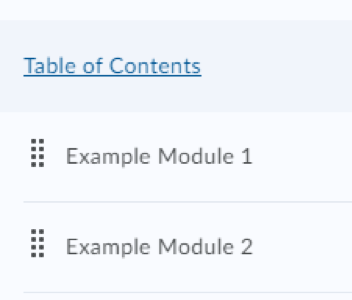
- Select a Module from the Table of Contents.
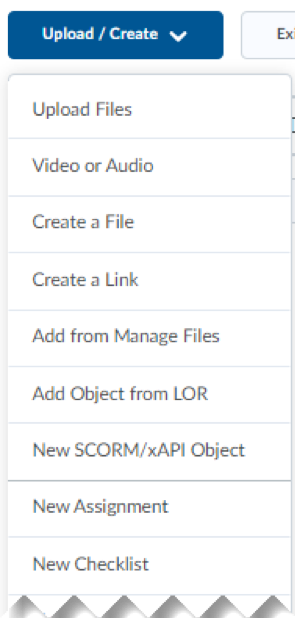
- From the Upload/Create menu, select the option you wish to use and follow the prompts to add content.
BEST PRACTICE: Periodically test linked items to ensure that the link is still working correctly and links to the desired content.
Linking Existing Tools to Content (i.e. Quiz, Assignment, etc.)
- Select Content from the Navigation Bar.
- Select a Module from the Table of Contents.
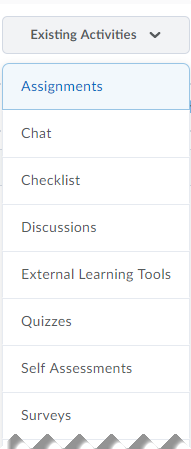
- From the Existing Activities menu, select the option you wish to use and follow the prompts to add content.
Managing Content Topics
- Within a module, locate the content topic you wish to delete.
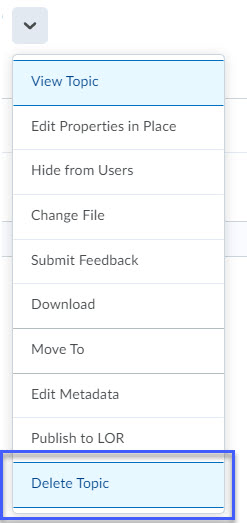
- Select the drop-down menu to the right of the topic title.
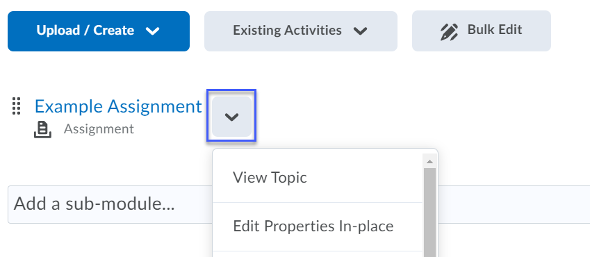
- Select Delete Topic.
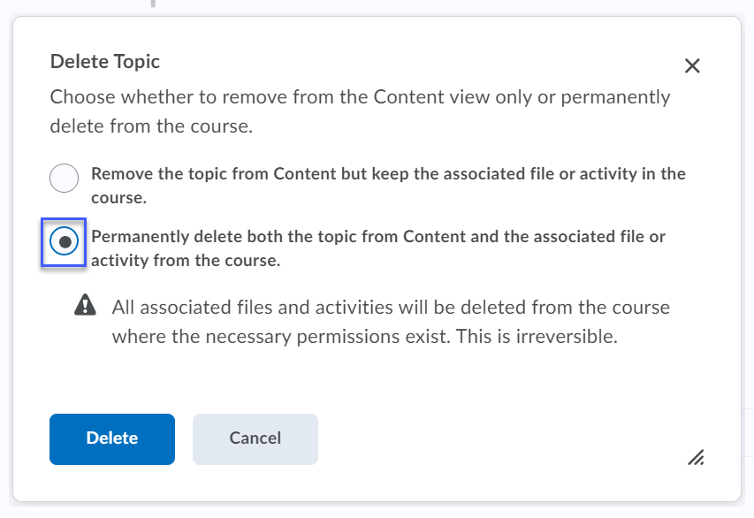
- Select the radio button for permanently delete both the topic from Content and the associated file or activity from the course.
- Select Delete.
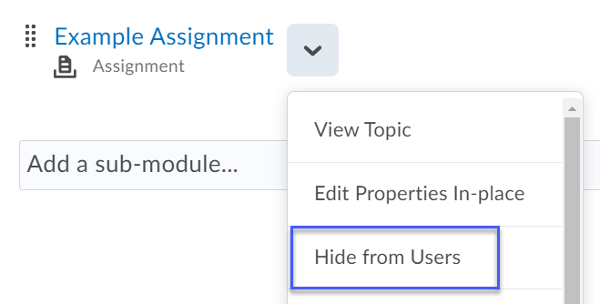
- To Hide Content, repeat steps 1 and 2 of Managing Content Topics.
- Select Hide from Users.
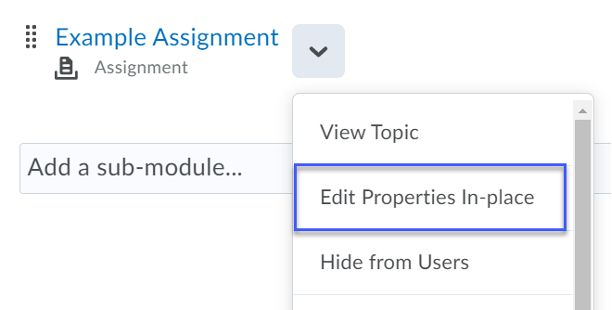
Editing Content Topics
- In Content, locate the content topic that you wish to rename.
- Select the drop-down menu to the right of the content topic title.
- Select Edit Properties In-Place.
- Select the topic title, then enter a new title in the title field.
- To add restriction dates on a content topic, repeat steps 1-3 of Editing Content Topics.
- Select Add Dates and Restrictions.
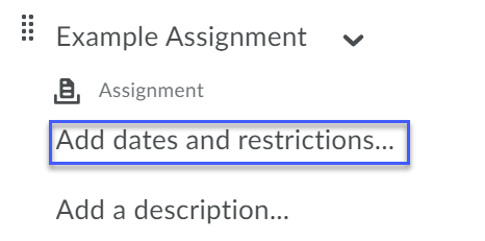
- Select Add Start Date, Add Due Date, and/or Add End Date to set a date restriction.
Note: You can use any combination of the three date options when setting a date restriction.

- Select Update. Note: The date restriction(s) will be added to the topic and set dates will appear in the calendar and upcoming events.