
Adding & Editing Alternative Text (Alt Text) for Images
Adding Alternative Text to Images
When an image is inserted into the HTML Editor, using Insert Image, users will be promoted to provide alternative text. Alternative text, also known as alt text, should provide a clear text alternative of the image for screen reader users.
- Navigate to the item (Assignment Folder, Announcement, Discussion, etc.).
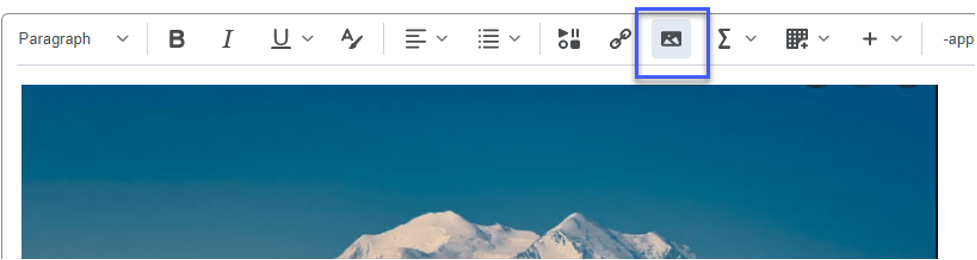
- On the HTML Editor, select Insert Image.
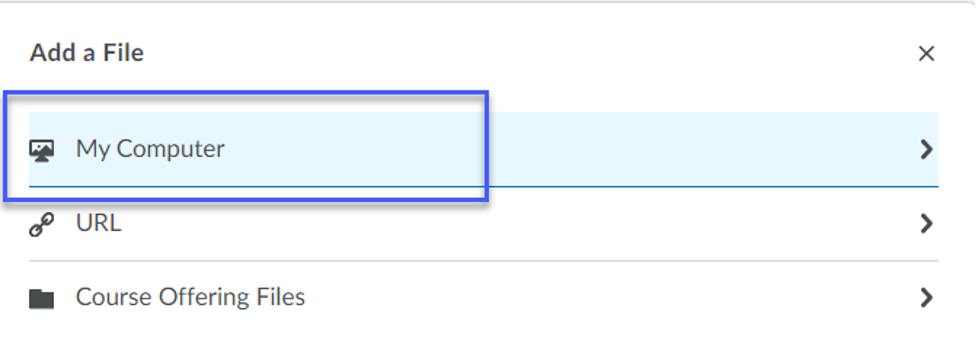
- Select My Computer.
- Select Upload, then locate and select the Image File to be uploaded.
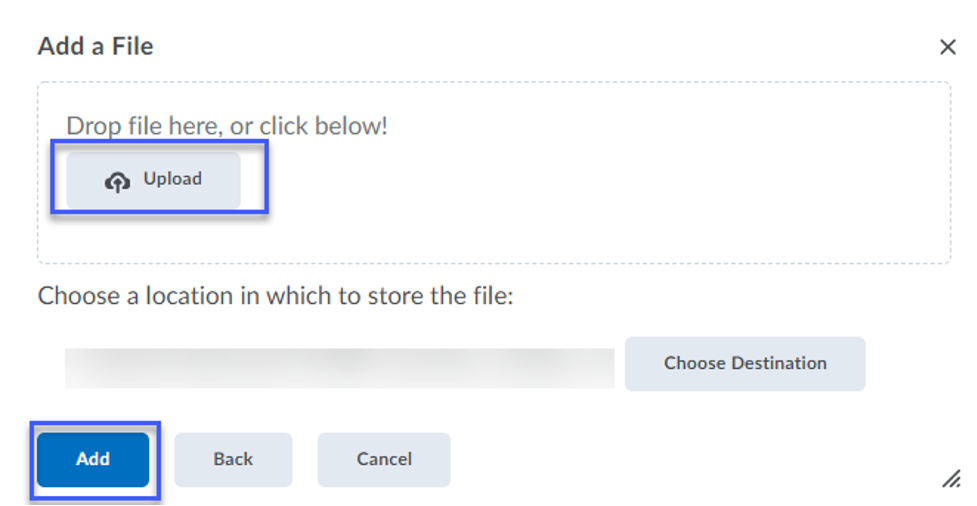
- Select Add.
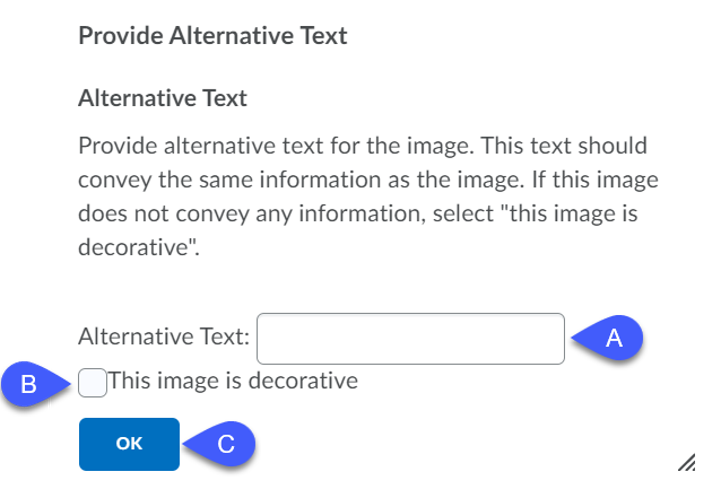
- On the Provide Alternative Text pop-up, enter Alternative Text or select the checkbox to indicate that the image is decorative.
- Enter Alternative Text to describe the image.
- If the image is decorative, select the Checkbox for This image is decorative.
- Select OK.
- Select Save and Close.
Editing Alternative Text on an Existing Image
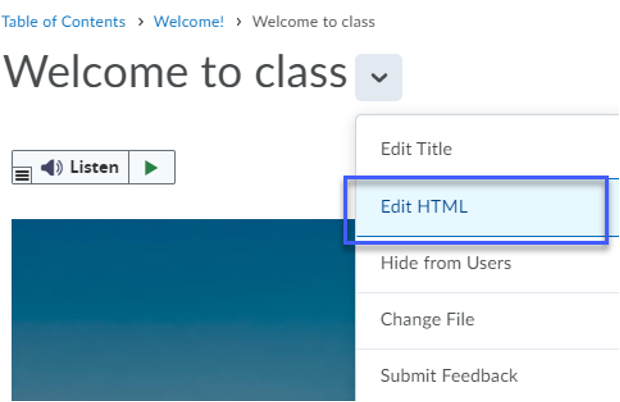
- Navigate to the item (Content Page, Assignment Folder, Announcement, Discussion, etc.) containing the image.
- Select to Edit the item.
- Select the image to display the image options menu.
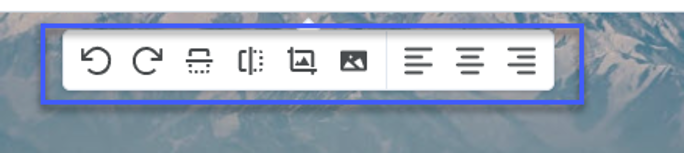
- Select the Image Options icon.

- Update the alternative text via the Alternative Description field.
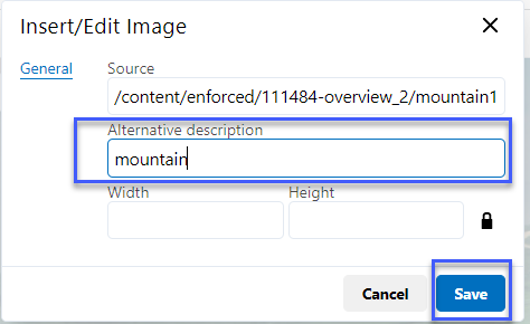
- Select Save.
Note: Editing the alternative text in this manner does not edit/update the title of the image. The title appears when a user hovers a mouse over the image. To update the title of the image, users will need to access the HTML source code.