-
Step 1
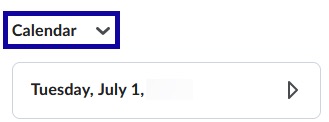
From the Course Home page, select Calendar.
-
Step 2
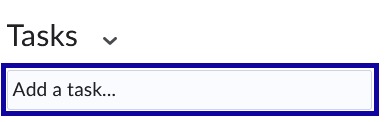
Select Add a task.
-
Step 3
Enter the Task information. -
Step 4
Select the enter key on the keyboard to create the task. -
Step 5
To enter a specific due date for a task, select the Name of the task from the task list. -
Step 6
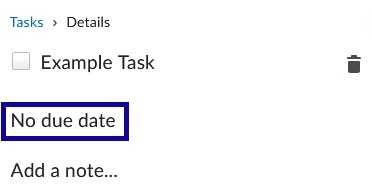
Select No due date.
-
Step 7
Select a Date from the calendar menu. -
Step 8
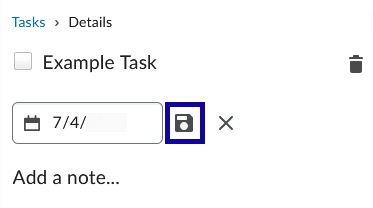
Select the Save icon to save the selected due date.
Note:
Setting a specific date for a task will create time headings in the task list.