WebEx is an on-demand collaboration, online meeting and video conferencing application suite. Instructors can use WebEx to facilitate online office hours, class meetings, and individual or group conferences. WebEx is integrated directly into D2L, allowing students to connect with Instructors for meetings and office hours directly in D2L.
Note: Currently, Apple iPads are not able to open WebEx Meeting app when attempting to join a WebEx Meeting from within D2L.
Note: It is recommended that all participants in a WebEx meeting use headphones to reduce any potential audio feedback.
Students can join a scheduled WebEx Meeting through an associated D2L Course.
- From within a D2L course, select WebEx from the Communications menu.
- From the Event Calendar tab, select Join to launch the scheduled meeting.

Once an Instructor has created a WebEx Appointment Block, students can reserve and join scheduled blocks of time using WebEx through D2L.
Reserving a WebEx Appointment
- From within a D2L course, select WebEx from the Communications menu.
- From the Appointment Booking tab, select the Instructor from the menu to view available appointment blocks.

- Select an available appointment block.

- Leave the Name field as the default title.
- Enter the Purpose of appointment (optional).
- Select Reserve Appointment.

Joining a reserved WebEx Appointment
- From within a D2L course, select WebEx from the Communications menu.
- From the Appointment Booking tab, select the Join button.

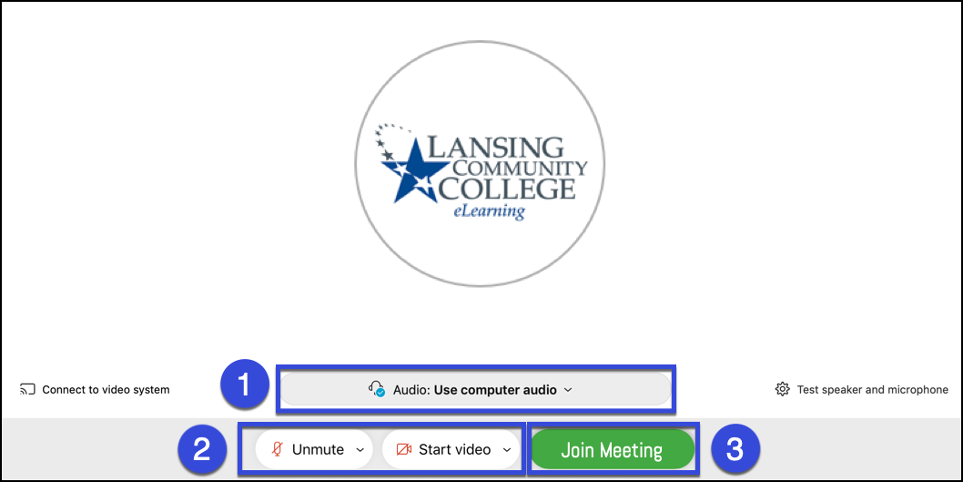
Audio and Video Connection
When entering a WebEx meeting, users will be prompted to select Audio and Video connections.
- Select Call Using Computer in the Select Audio Connection menu.
- Select the Camera in the Select Video Connection menu.
- Select Join Meeting to continue to the meeting.
Meeting Controls

- Mute/Unmute: Select to mute or unmute the microphone.
- Start/Stop Video: Select to start or stop sharing video.
- Share Content: Select to share the screen, applications, files or whiteboard.
- Participants: Select to view a list of attendees.
- Chats: Select to open the Chat tool.
- More Options: Select to access more options including Notes, Polling, and Lock Meeting.
- Leave or End Meeting: Select to leave or end the meeting.
Sharing Content During a Meeting
- Select the Share Content button.

- Select the Content to be shared.
- Share the Screen.
- Share an open application.
- Share a file, open an application to share or create and share a New Whiteboard.

WebEx supports Windows, Mac and Linux operating systems. WebEx requires that JavaScript, Cookies, Active X and Plug-ins be enabled.
Note: If using WebEx from a mobile device, a prompt will appear to download and install the WebEx mobile application.
For more information, visit WebEx Support System Requirements.