Kaltura
Kaltura is LCC’s Media Platform that is comprised of Kaltura My Media for hosting and sharing videos and Kaltura Capture for the creation of media.
Kaltura Quick Start GuidesGetting StartedCreating MediaAdding Media to a D2L CourseEditing Kaltura Media
- Discussion Board Forums/Threads
- Assignment Folder Submissions
- Navigate to the area of your course where the video is to be inserted.
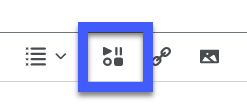
- On the HTML editor tool bar, select Insert Stuff.
NOTE: The HTML editor tool bar appears when you start a new thread in Discussions, or when you open an Assignment Folder.
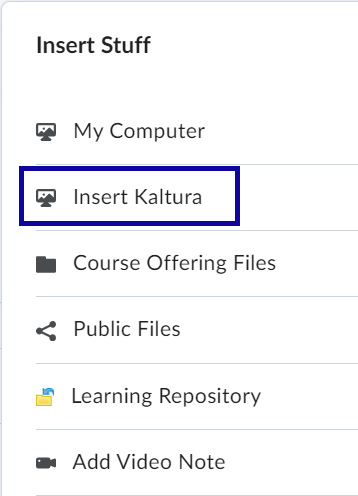
- From the Insert Stuff options, select Insert Kaltura.
NOTE: This will open your Kaltura My Media gallery.
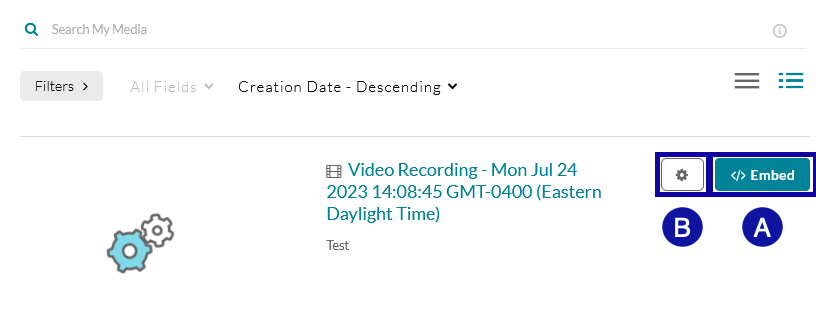
- Select the video you wish to embed.
- Select Embed to embed as the default size.
- Select the Gear icon to adjust the embed settings.
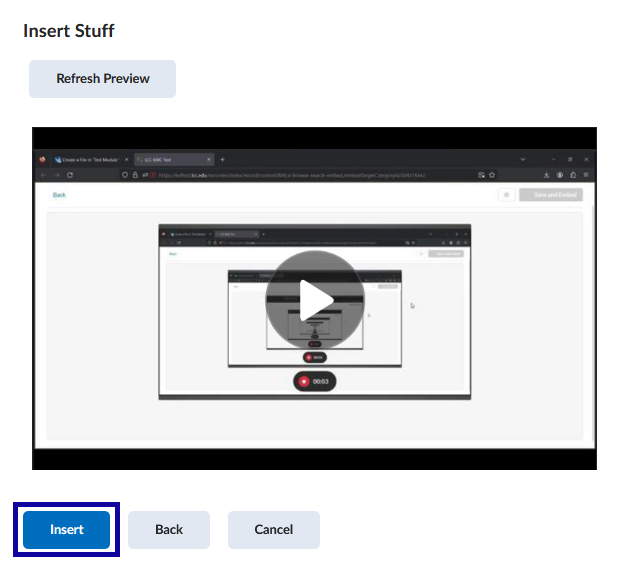
- Select Insert to embed the Video.
- Depending on the D2L tool you are using, select Post or Submit.
- From the D2L My Home page, select My Media.
- From the My Media gallery, locate the video to be edited.
- Select on the video thumbnail to open the video.
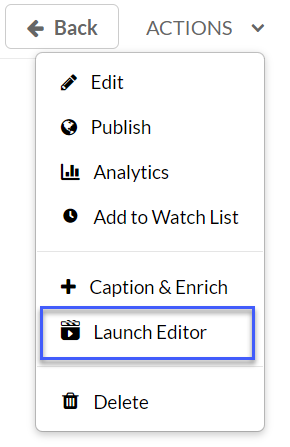
- From the Actions menu, select Launch Editor.
- Select the Media Timeline.

- Move the orange bars on the ends of the Media Timeline to the desired beginning and/or end of the video.


- Select Save to save your changes.
- To chop a video select the desired location on the Media Timeline to move the Real Time Marker to that location.

- Select the Scissor icon on the Real Time Marker to divide the video into sections.

- Slide the Real Time Marker to the end of the portion you wish to chop from the Media Timeline.

- Select the Scissor icon on the Real Time Marker to divide the video into three sections.

- Select the section you wish to remove and then select the Delete icon.

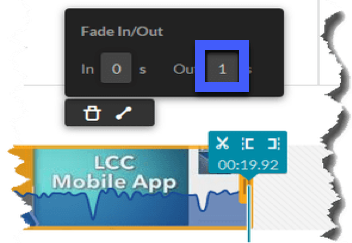
- To create a smoother transition between the sections you can select the Fade In/Out icon.

- To add the fade to the end of section enter a number of seconds you want to Fade Out
- Select Save.
The Trim and chop features allow users to adjust the start and end of a video as well as remove a segment from the middle of a video.