Webex Meetings
The Webex integration in D2L provides instructors and students access to an on-demand collaboration, online meeting and video conferencing application suite that can be used to join online office hours, synchronous class meetings, and individual or group conferences.
Getting StartedJoin a Webex MeetingReserving and Joining a Webex AppointmentViewing a Webex Meeting RecordingWebex In-Meeting Options
1
Attend a meeting for a class using Webex in D2L.
2
Join a meeting in progress.
3
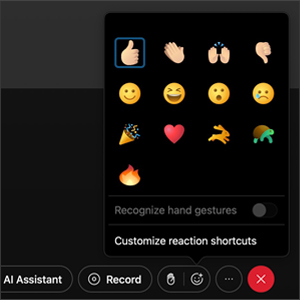
Interact and participate with the class session.
Students can join a scheduled WebEx Meeting through an associated D2L Course.
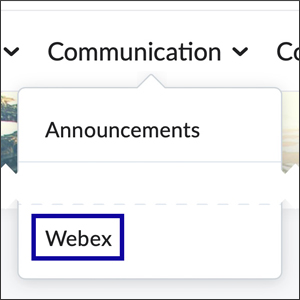
- From within a D2L course, select WebEx from the Communications menu.
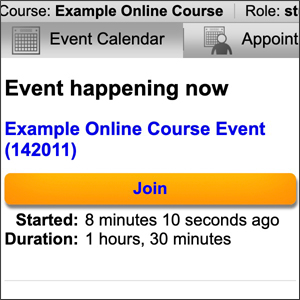
- From the Event Calendar tab, select Join to launch the scheduled meeting.
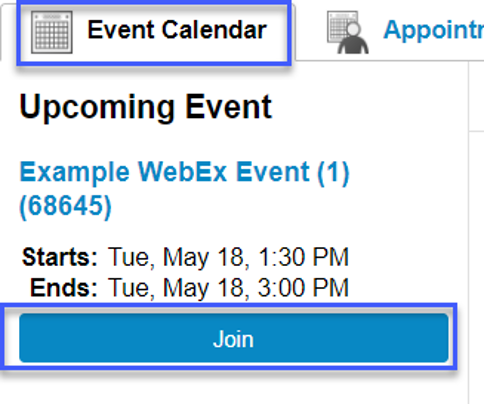
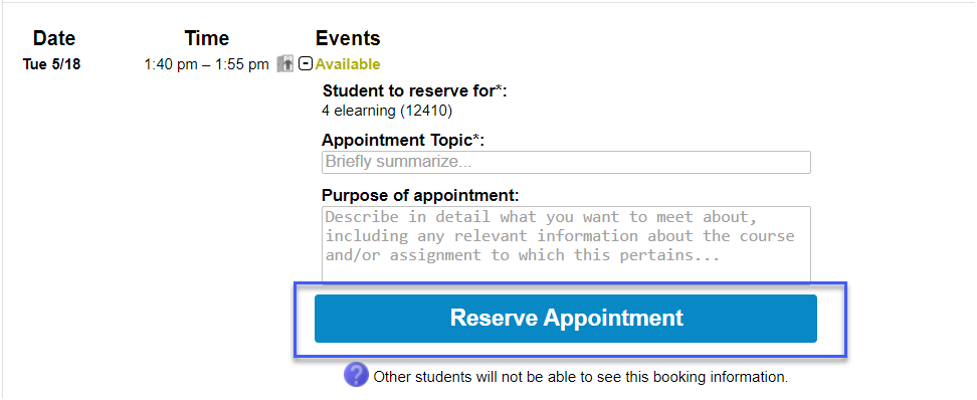
Once an Instructor has created a WebEx Appointment Block, students can reserve and join scheduled blocks of time using WebEx through D2L.
Reserving a WebEx Appointment
- From within a D2L course, select WebEx from the Communications menu.
- From the Appointment Booking tab, select the Instructor from the menu to view available appointment blocks.

- Select an available appointment block.

- Leave the Name field as the default title.
- Enter the Purpose of appointment (optional).
- Select Reserve Appointment.
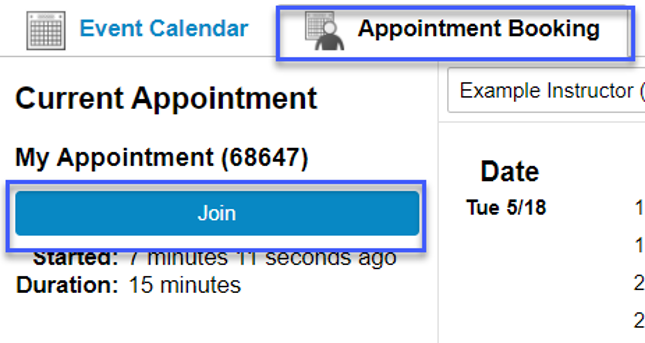
Joining a reserved WebEx Appointment
- From within a D2L course, select WebEx from the Communications menu.
- From the Appointment Booking tab, select the Join button.
- From within a D2L course, select WebEx from the Communications menu.
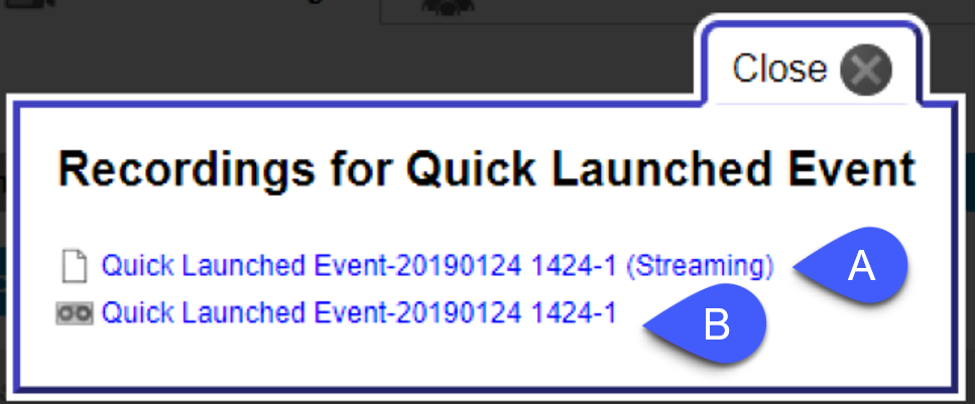
- From the Event Recordings tab, select View Recordings for the meeting you wish to view.

-
- Select to view the recording online.
- Select to download the recording as an mp4 to save to your computer.
Webex Keyboard Navigation and Shortcuts
Audio and Video Connection
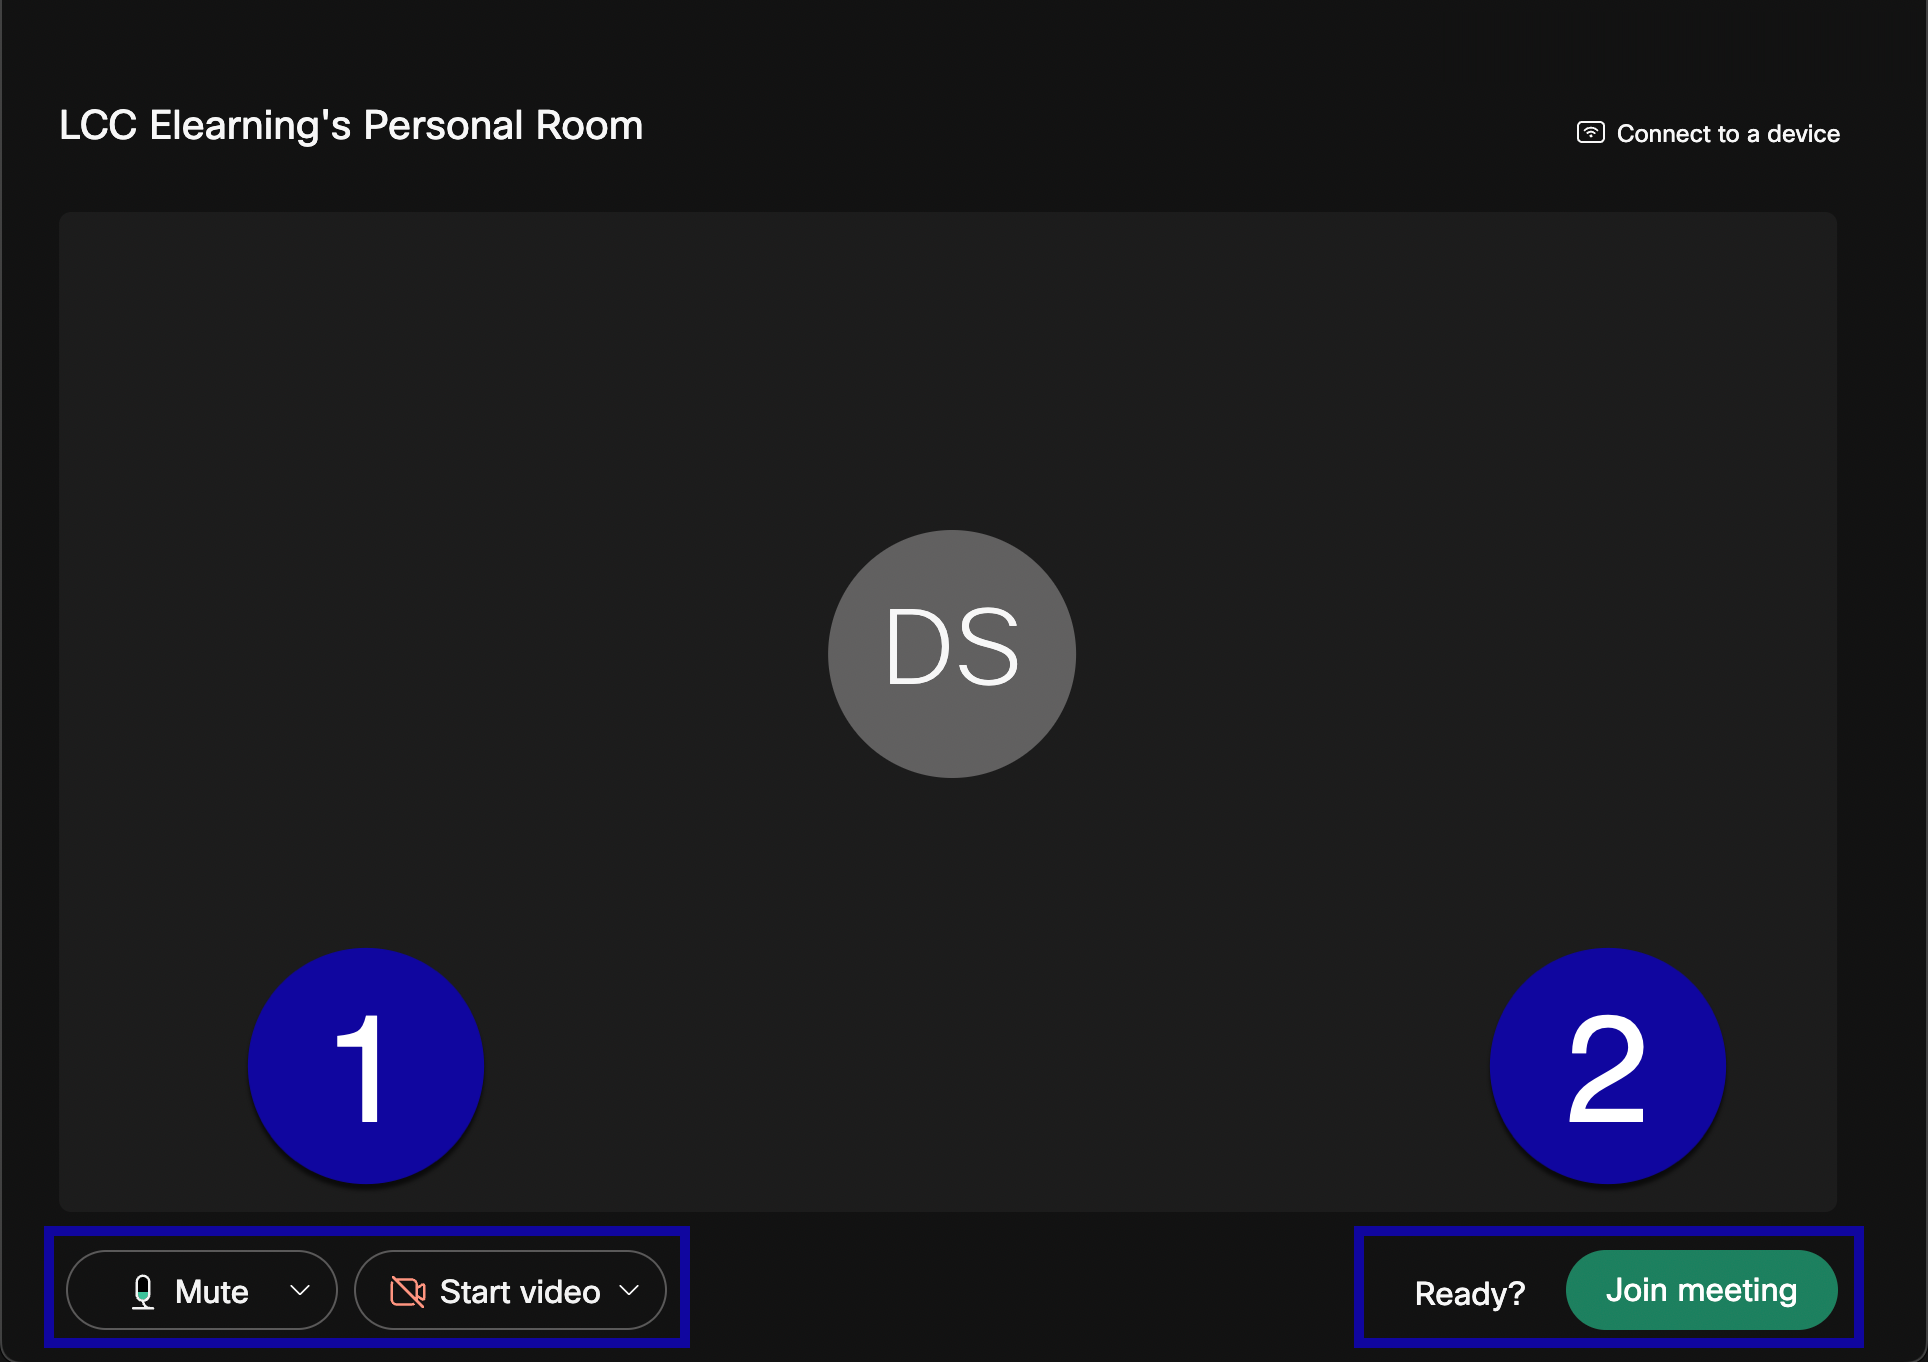
When entering a WebEx meeting, users will be prompted to select Audio and Video connections.
- Select the Audio and Video Options to set up microphones and webcams.
- Select Join Meeting to continue to the meeting.
Meeting Controls

- Audio Controls: Select to mute and unmute your microphone, as well as access meeting audio options such as microphone and speaker settings as well as audio testing options.
- Webcam Controls: Select to turn on or off your webcam as well as access webcam options.
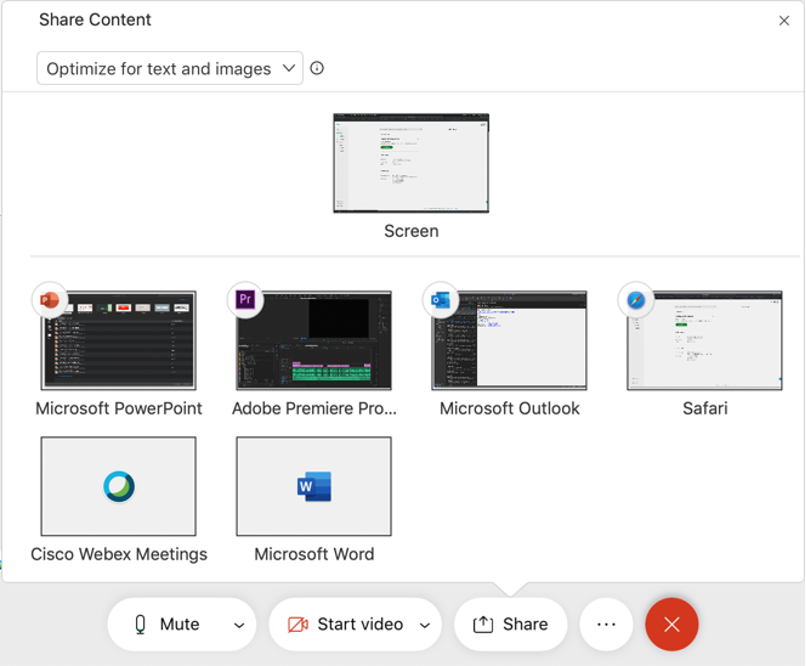
- Share Content: Select to share the screen, applications, files or whiteboard with session participants.
- Meeting Options: Select to access meeting audio options and meeting link.
- Leave Meeting: Select to leave the meeting.
- Participants: Select to view a list of attendees.
- Chats: Select to open the Chat tool.
- More Options: Select to access more options including meeting notes.
Sharing Content During a Meeting
- Select the Share Content button.

- Select the Content to be shared.
- To share videos or content with audio, select Optimize for Motion and Audio.
- Select the screen, application, or file to share.
