
Creating Quizzes
There are several steps to follow to set up a new quiz in D2L: selecting settings for the quiz, adding quiz questions, and allowing student access to the quiz.
BEST PRACTICE: Instructors should review their quizzes each semester to ensure that the quizzes are aligned with the learning objectives and content covered during the semester.
- From the Assessments menu, select Quizzes.
- Select New Quiz.
- Enter the Name of the New Quiz.
- Enter the total number of points possible in the Score Out Of text field.
- To associate the assignment with the gradebook, select the In Grades menu, then:
- Edit or Link to Existing: Allows users to choose a grade item from the gradebook or will create a new grade item
- Not in Gradebook: No connection to a grade item
- Reset to Ungraded: Makes the quiz an ungraded assignment
- Enter a due date and time, if desired.
- Enter Quiz Instructions in the Instructions text field.
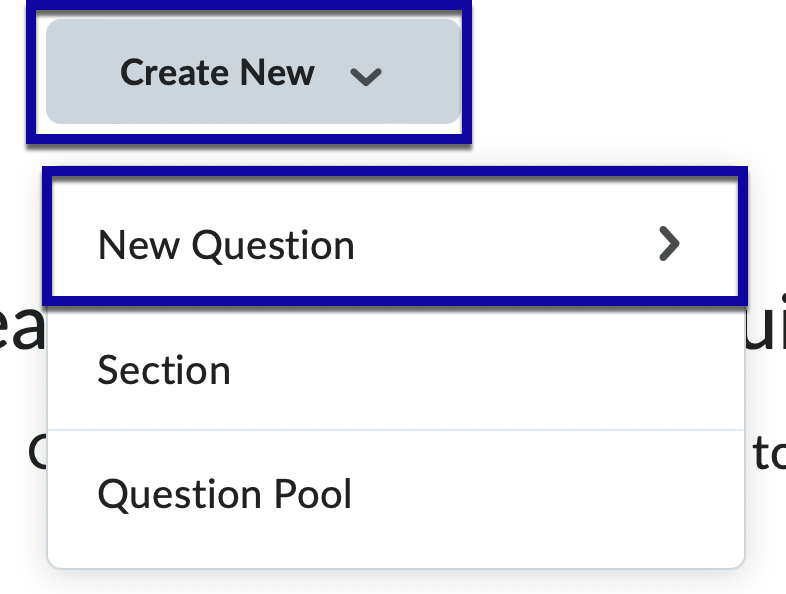
- To create questions within a quiz, select the Create New button.
- Select New Question.
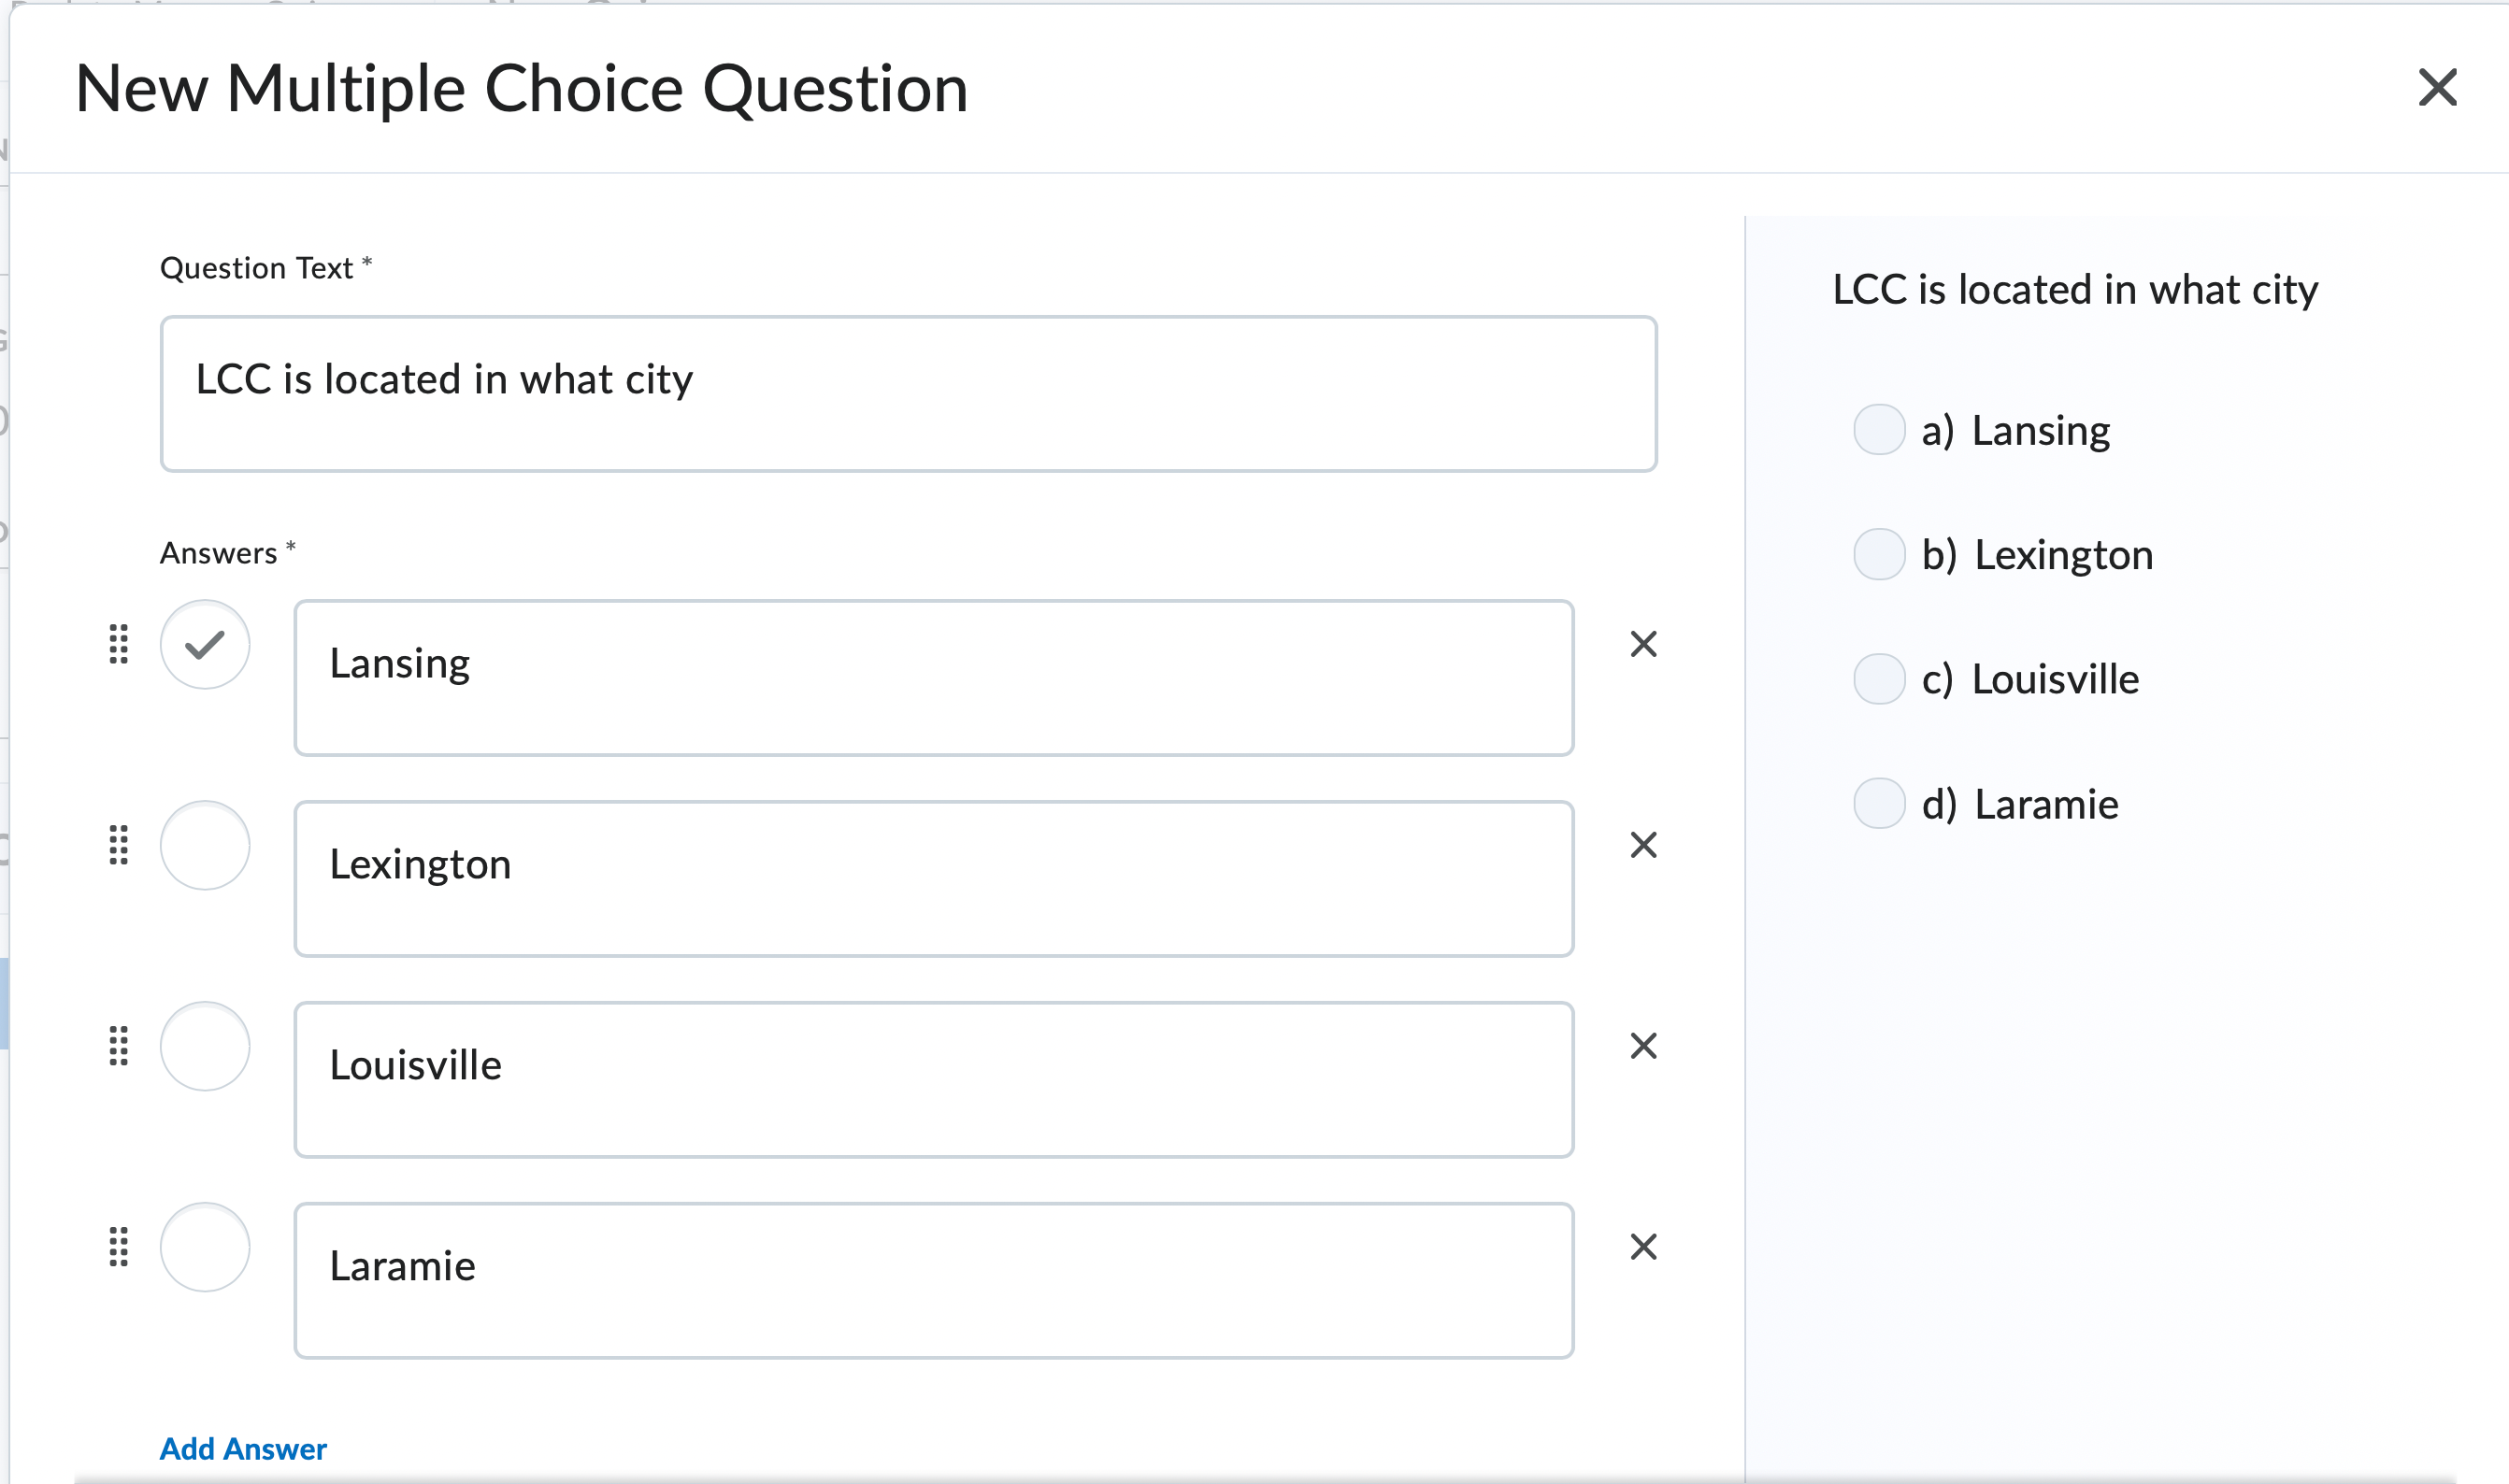
- Select a question type. Complete the form for each question by adding in question text and answer options. This process may then be repeated for each additional question.
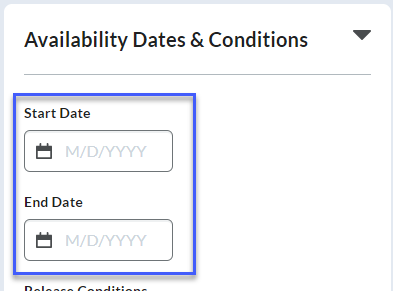
- Within the Availability Dates & Conditions Menu:
- Set Start & End Dates
- Set Release Conditions
- Set Special Access
- Set a Password
- Set Start and End Dates (Optional): Use the calendar and time tools to set start and end dates for student access to begin and end.
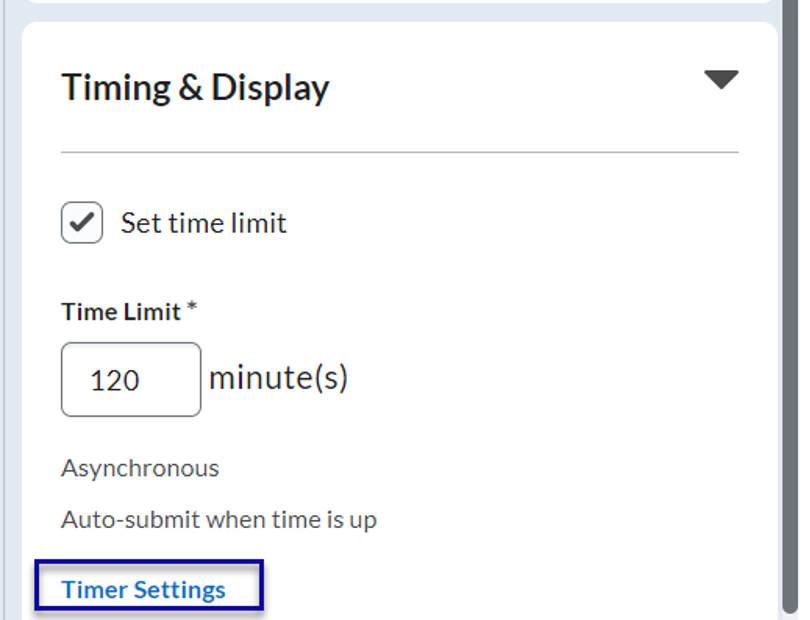
- Within the Timing & Display Menu:
- Set Time Limit
- Set Exceeded Time Limit Behavior
- Set Paging Options
- Shuffle Questions
- Display Options
- Manage Header & Footer
- Select Timer Settings
- Asynchronous: Timer starts when the learner launches the quiz.
- Synchronous: Timer starts on the start date, the quiz timer begins on the start date and stops at the end of the quiz time limit for all students.
- For example if a quiz starts at 10:00 am and the quiz is set for 120 minutes, the window to take the quiz is from 10:00 am – 12:00 pm, students will not be allowed to go over if they start the quiz late.
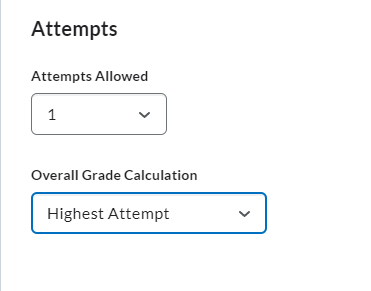
- Within the Attempts & Completion Menu:
- Set Number of Allowed Attempts
- Set Notification Email
- Select Manage Attempts
- Attempts Allowed: Select the number of attempts allowed for the quiz. Select OK to maintain changes.
- Overall Grade Calculation: Select Highest Attempt.
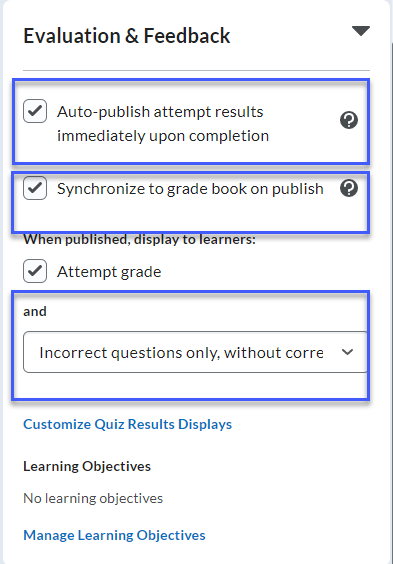
- Within the Evaluation & Feedback Menu:
- Set Publish Options
- Add Learning Objectives
- Auto-publish attempt results immediately upon completion: Select the checkbox to have quiz attempts graded immediately upon submission.
- Synchronize to grade book on publish: Select the checkbox to allow quiz grades to automatically publish to the gradebook.
- Set how the quiz results will display to students:
- Attempt Grade (Selected by default).
- Select how the quiz questions and answers will be displayed.
NOTE: If quizzes will be used as study guides/review tools, it is recommended to select “All questions, without correct answers”.
- To Customize Quiz Results Displays
- Select Customize Quiz Results Displays.
- Select Edit View.
- From the Questions Options, make adjustments as needed.
- Select Update.
- Select Ok.
- Hide from Users: Toggle between Hidden and Visible.
- Select Save and close.
BEST PRACTICE: Use a variety of question types (such as matching, written response, and fill-in-the-blank) within a quiz to allow students to display knowledge of the content in multiple ways.
NOTE: Setting an End Date will turn off access to the quiz for all students.
NOTE: The score displayed is only what the system can auto-grade. Written response answer questions must be manually graded.
NOTE: Quiz submission views set what students see upon submitting the quiz (ie. quiz questions, correct answers, etc.). The default submission view for all quizzes is set to not to show questions and answers.
NOTE: This MUST BE set to visible in order for students to access the quiz even if start/end dates are applied.
