Custom Navbars
Creating Custom Navbars
NOTE: It is highly recommended to keep the default navigation bar layout to ensure consistency for students between courses throughout D2L.
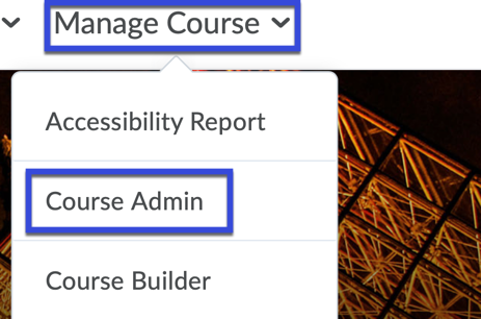
- From the Manage Course menu, select Course Admin.
- Under the Site Setup section, select Navigation & Themes.

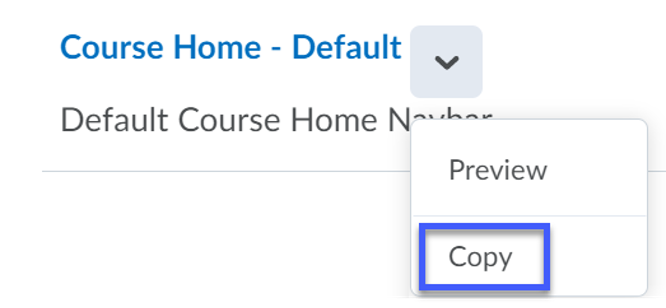
- Select the drop-down menu for the default navbar (Course Home – Default), then select Copy.
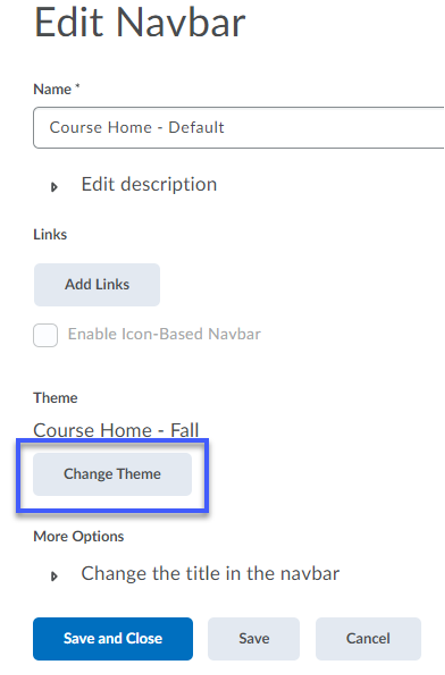
- Select the Title of the copied navbar.
- Edit the Title of the copied navbar so it is distinctive.
- Select Add Links to add desired links.
- Select Change Theme to utilize a theme other than the course default.
NOTE: The themes available are based on the type of navbar being used. As such, you may see themes in the main themes area that are not listed in the change theme menu.
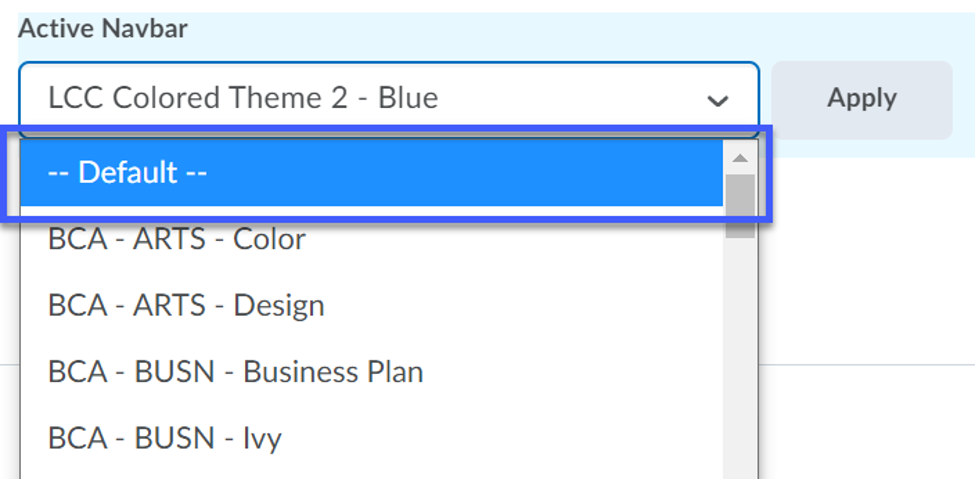
- From the Active Navbar menu, select the newly created Navbar.
- Select Apply.
Changing the Course Navbar to Default Settings
If you have a customized course navbar: It is recommended with the May 10, 2018 D2L Update, that before copying your course into a new semester course shell, you change to the default Course Navbar. The default Course Navbar was designed to maximize compatibility across all devices.
- From the Manage Course menu, select Course Admin.
- Select Navigation & Themes.
- Select Default from the list, then select Apply. The course navbar will now be set to the default settings.