
Enabling, Changing, and Deleting Image Banners
- Begin at the Course Home page for the course you wish to re-enable the image banner for.
- From the Manage Course menu, select Course Admin.
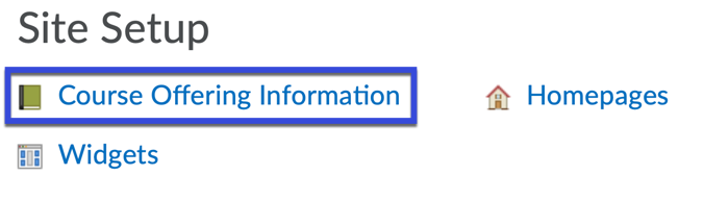
- Select Course Offering Information.
- From the Homepage Banner section, select the Checkbox for Display the image in a banner on the course homepage.

- Select Save.
Image banners are automatically selected and matched based on the course title. Instructors can choose to use this image, select another image from the Course Image Catalog, or upload an image.
- In order to change the banner image, select the Home icon.

- From the My Courses Widget on the My Home page, locate the course for which you wish to edit the image banner.
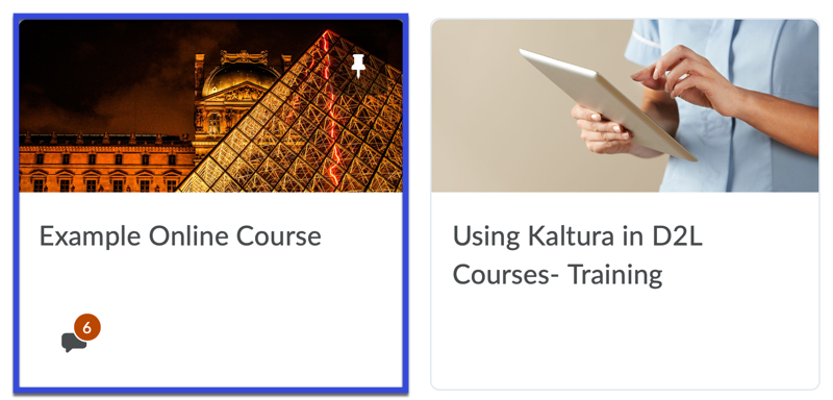
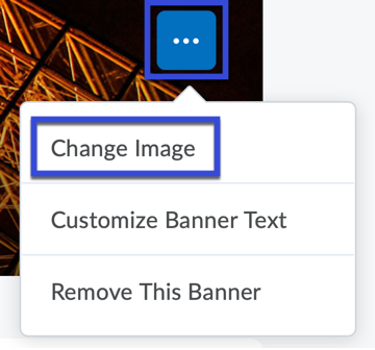
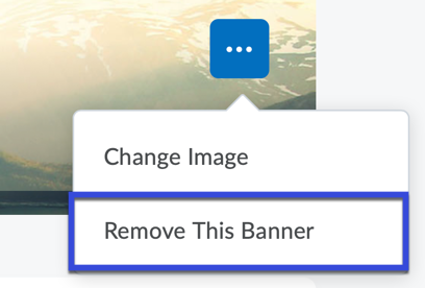
- Hover your mouse over the image banner until the More Options menu appears, then select the More Options menu.
- Select Change Image.
- Browse, search or upload a new image. Note: The recommended dimensions for uploaded images are 2400 pixels by 980 pixels to provide an optimal experience on both desktop and mobile devices.
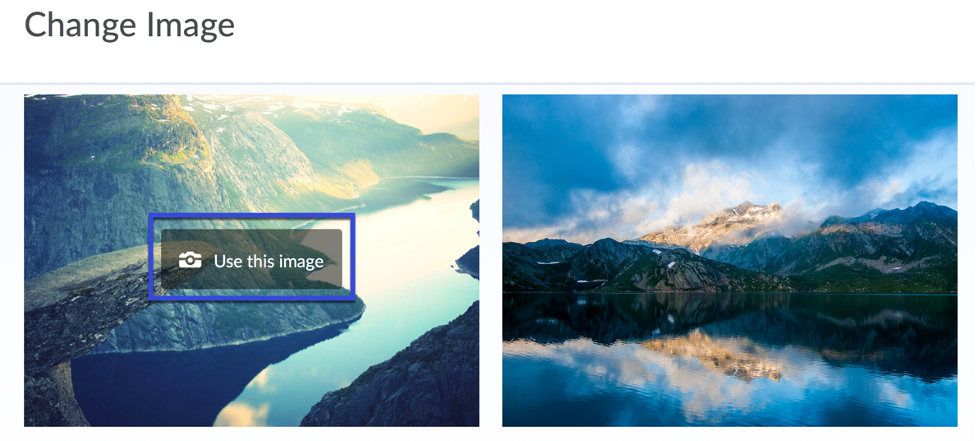
- To select a new image, hover your mouse over the image until “Use this Image” appears, then select Use this image.
- Instructors can also remove the image banner from a course. Select the course you wish to remove the image banner from.
- Begin at the Course Home page for the course you wish to remove the image banner for.
- Select the More Options menu, then select Remove This Banner.
- Confirm your selection: select the X to remove the image banner OR select Undo to maintain the image banner.