Creating Events
Use the Calendar tool to display course events in multiple views and enable integration of course content. Instructors can use iCal to synchronize the Calendar tool to other personal calendars (such as Outlook and Google Calendar, as well as iPhone, Android, and Blackberry).
Note: Calendar events can be created with or without restrictions.
- Select Calendar on the Course Home page.
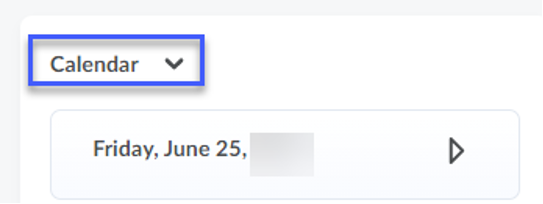
- Select Create Event.

-
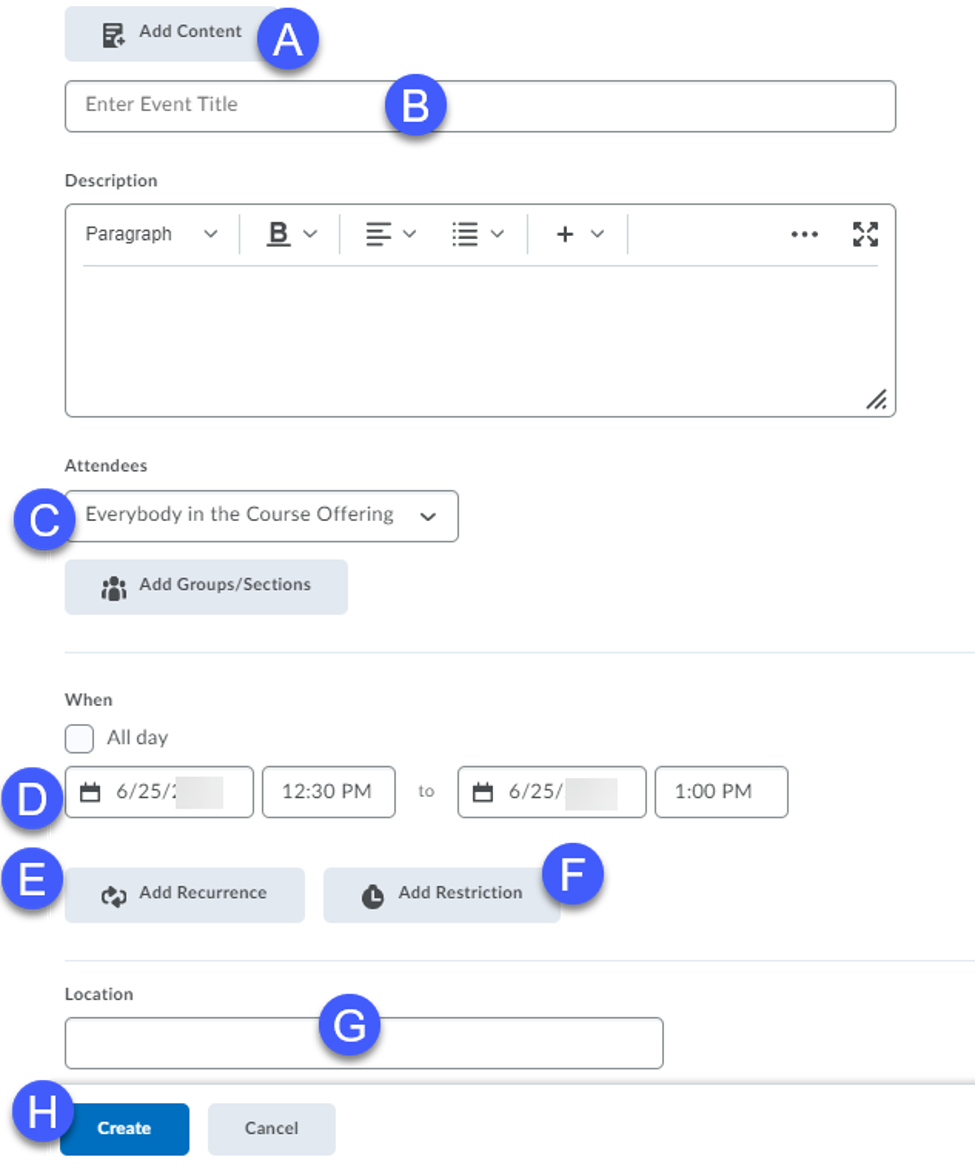
Set up the calendar event: - Select Add Content to connect the calendar event to a date restriction on a Content item. Note: If you do not want any restrictions associated with the calendar event, skip this step.
- Enter a Title.
- Select the Group or Section from the Attendees drop-down menu, if necessary.
- Select a Date/Time for the event.
- Select Add Recurrence to have this event repeat on a regular basis. Note: If you do not wish to set recurrences associated with the calendar event, skip this step.
- Select Add Restriction to set restrictions for this event. Note: Restrictions can be used to set event visibility and range. If you do not wish to set restrictions, skip this step.
- Enter a Location, if necessary.
- Select Create.