Creating a New Certificate
- From the Course Home Page, select Course Admin from the Manage Course menu.
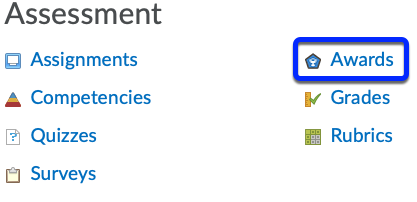
- Select Awards from the Assessment group.
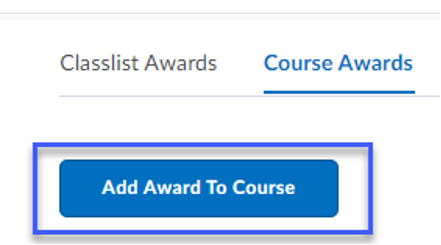
- Select Course Awards.

- Select Add Award To Course.
- Select Create.
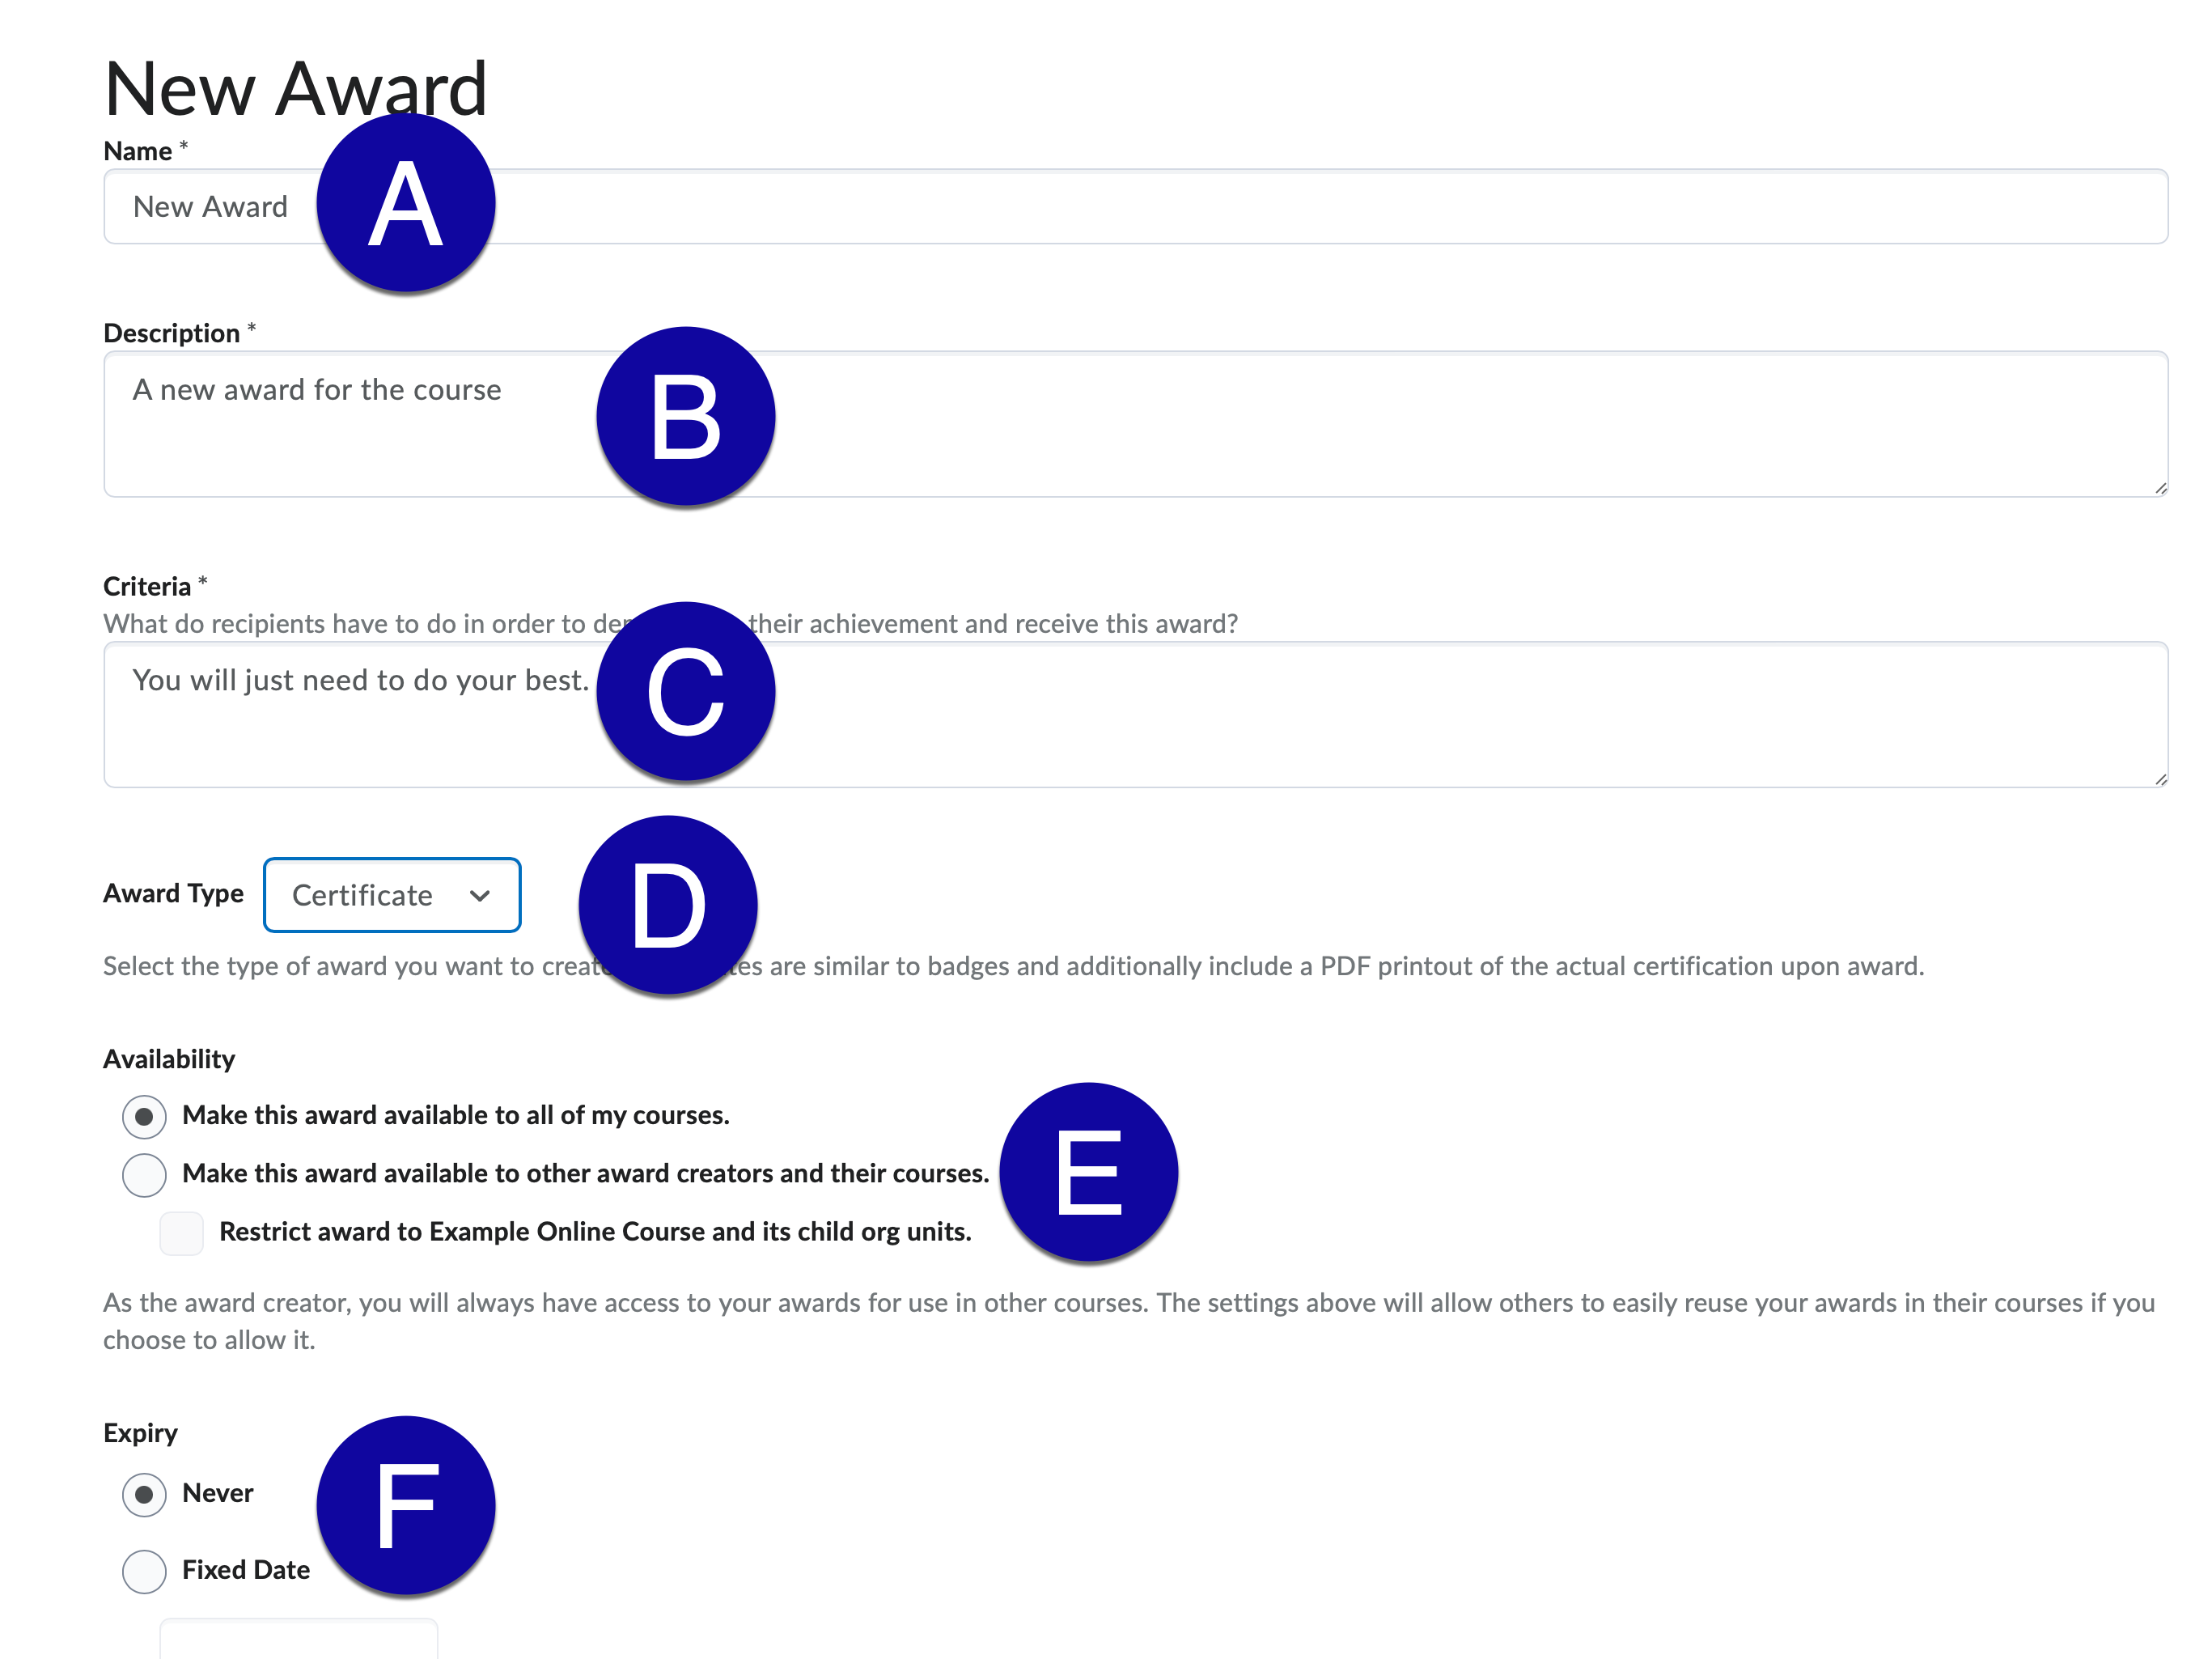
- Enter the award details:
- Enter the Name.
- Enter a Description.
- Enter Criteria.
- Select Certificate for the Award Type.
- Select the Availability.
- Select the Expiry option.
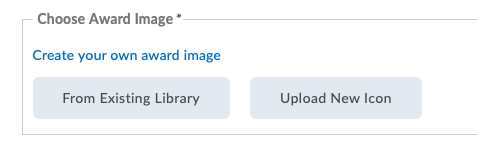
- From the Choose Award Image section, select:
- From Existing Library to select a badge from the Award Icon Library.
- Upload New Icon to add a new icon to the image library.
- Create your own award image to launch the Badge Designer website.
NOTE: Badge Designer is a free website that allows you to create custom icons.
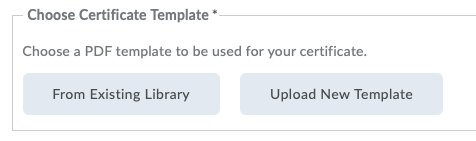
- From the Choose Certificate Template section, select:
- From Existing Library to select a certificate from the Certificate Library.
- Upload New Template to create a certificate using a custom template.
NOTE: For detailed instructions on creating your own custom Certificate Template, see this D2L Certificate Documentation.
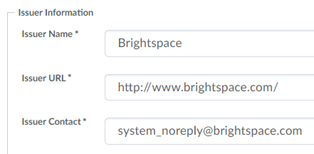
- Review the Issuer Information.
NOTE: It is recommended to leave the default Issuer Information.
- Select the checkbox to Use this award in… to use the award in the current course.
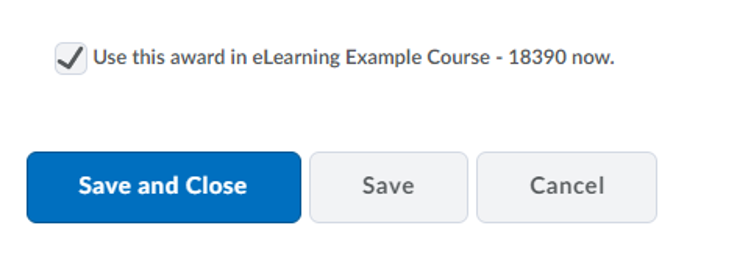
- Select Save and Close.
